


Week 10 - Lighting, Mesh Decals and Wagon Asset
- Sam Ayer
- Mar 31
- 3 min read

Updated: May 5
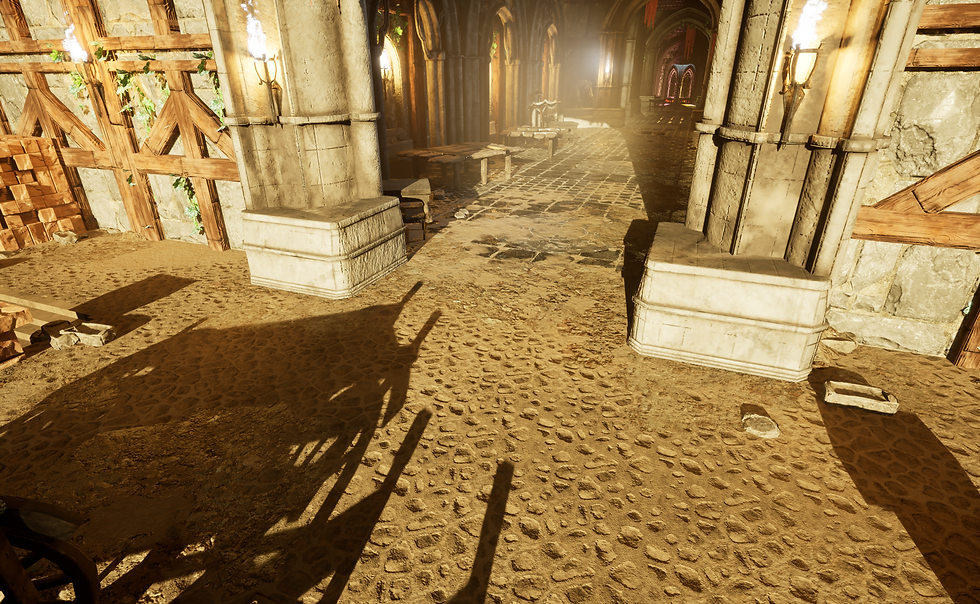
I spent the first half of this week focusing on the lighting of the scene after reading the lighting section of an article which goes through the pipeline of rendering an environment (He, 2026). I started off by deleting all of the current lights I had created so I could start fresh. The only lights I kept were the ones in my shrine asset. I created a strong directional light to act as the sunlight and then added point lights to all of the torches to act as the light from the flame. I added ExponentialHeightFog over the whole scene to create god rays from the light, especially from the sunlight. I added extra LocalFogVolumes to areas that I wanted to exaggerate the foggy light rays. I then finally added RectLights to areas that were particularly dark, for example, the top of my walls that were not being lit by the torches.
I edited the temperatures of the lights so that they would be warm from the sunlight from the exterior and then would get colder further through the scene.
I also read an article (Khinevich, 2026) which has a section focused on lighting assets in an environment to assist with my project.
Renders of the new lighting:



Next in this week, I created mesh decals which is a mesh using a opacity mask which sits very slightly above a mesh. My plan was to create edgewear decals which would sit on my exterior walls. This was because I could not have edgewear on my exterior wall edges as it was made with a trim sheet. I created the edge wear material in Substance Painter using a combination of grunge maps and edgewear generators. I then created an opacity map in Photoshop and put the material on a plane in Unreal Engine. I created a colour tint parameter in Unreal so that I could alter the colour of the edgewear.


The next thing I did was recreate the walls on my exterior. I didn't like the old exterior walls as they felt very blocky and didn't fit with the rest of the project. I took inspiration from some of the walls in Diablo which are made of many individual brick meshes.

I then created a brick mesh which I would duplicate to create this effect and used the trim sheet from the original material walls as each brick's material.


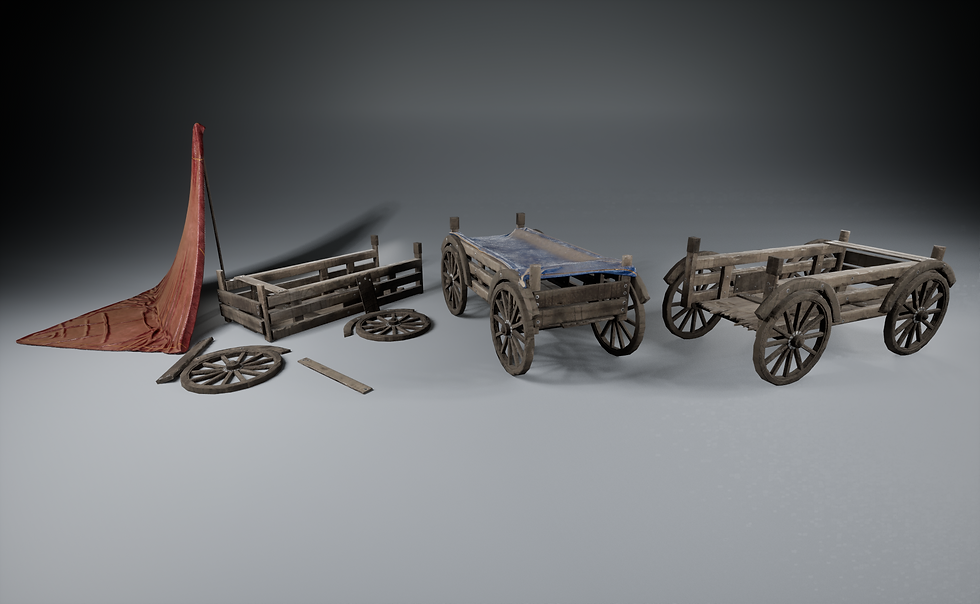
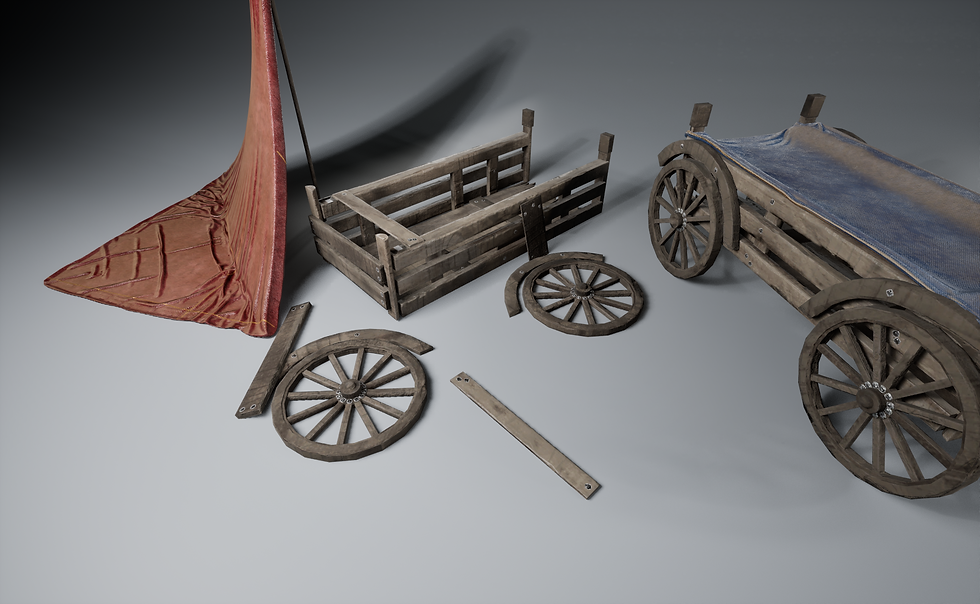
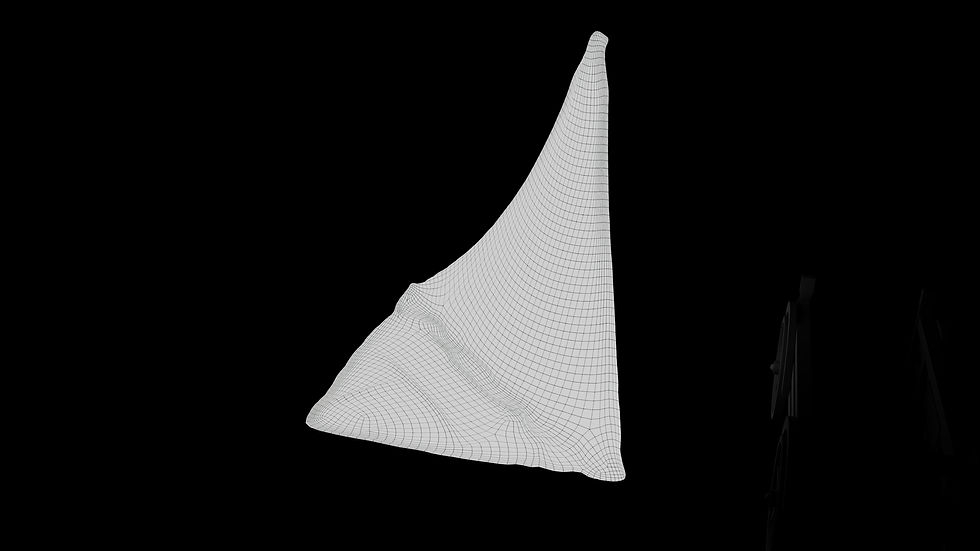
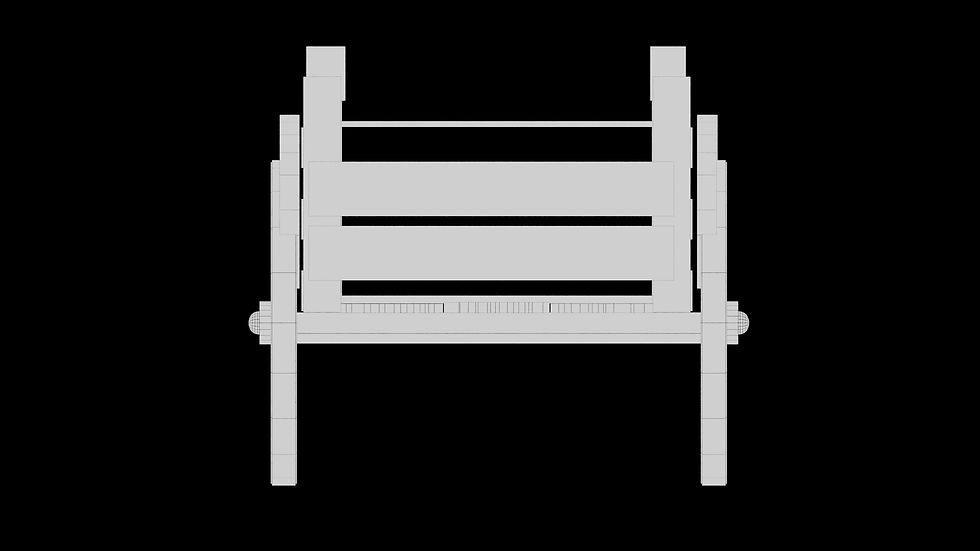
Finally this week, I created a wagon asset which would be made of modular pieces. This meant I could create several different versions of it, for example damaged versions. I used the usual pipeline of a low poly created in Maya, high poly created in ZBrush and textured in Substance Painter. I also used ZBrush collision and gravity simulations to create tarps for the top of the wagons and to create small tarp shelters. The low polys for these tarps were made by ZRemeshing the high poly.







Drawing for games work this week:

Bibliography:
Wade, D. (2023). Blizzard Entertainment Diablo IV — Environment Art Blast. [online] ArtStation Magazine. Available at: https://magazine.artstation.com/2023/07/blizzard-entertainment-diablo-iv-environment-art-blast/.
He, S. (2026). Building a Beautiful & Atmospheric Environment of a Fallen Titan. [online] 80.lv. Available at: https://80.lv/articles/building-a-beautiful-atmospheric-environment-of-a-fallen-titan [Accessed 5 May 2026].
Khinevich, M. (2026). Making Fantasy House on Cliff Environment in 3D. [online] 80.lv. Available at: https://80.lv/articles/making-fantasy-house-on-cliff-environment-in-3d [Accessed 5 May 2026].


Comments