


Week 13 - Poly Cam experiments, asset creation and post processing
- Sam Ayer
- Apr 21
- 2 min read

Updated: May 5
The main focus of this week was experimenting with using the PolyCam app (Polycam, 2024) to scan in a real life object into my scene. I decided to experiment with scanning in a plant for this. I imported the scanned plant into ZBrush and experimented with ZRemesher to created a low poly. I created a material for the asset in Substance Painter and then imported it into my Unreal Engine scene.
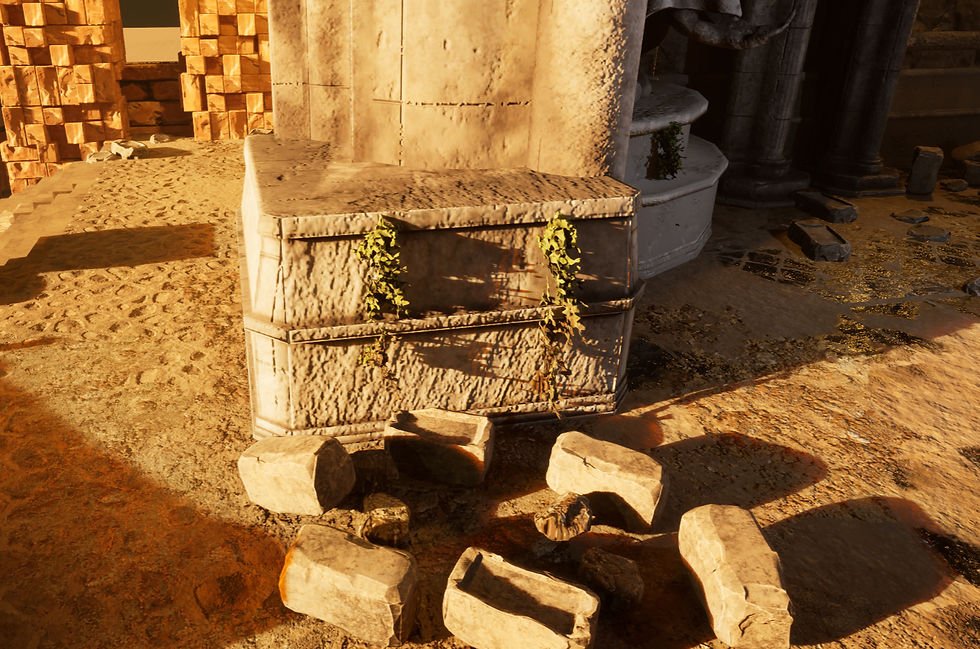
The problem with this was that the low poly was 20k polys which was way to high for an asset at such a small size. Instead, I used quad draw to make a plane which conformed to the shape of the plant, which the high poly would be baked onto. This decreased the low poly to 47 polys and allowed me to keep the details of the plant, now just baked onto a moulded plane.

This was a more successful attempt at the plant and will be kept in the project.
I had received feedback that my shrine may need a stand to be placed upon to increase the significance of it. To create this, I modelled hands in ZBrush and used my already created skulls to create a rock formation as if the shrine was crushing skeletons in the rock. I created the low poly by ZRemeshing the high poly and created a material with high edge wear in Substance Painter.

Next this week, I added post processing in for my exterior area to give it a bit more saturation and contrast, as well as the shrine room to make it feel colder and more saturated. The increase in saturation made the colours from the stained glass of the shrine pop. I used photoshop to turn my renders black and white to determine if there was enough contrast and readability through the project, and used this as reference as to where to increase the use of post processing.

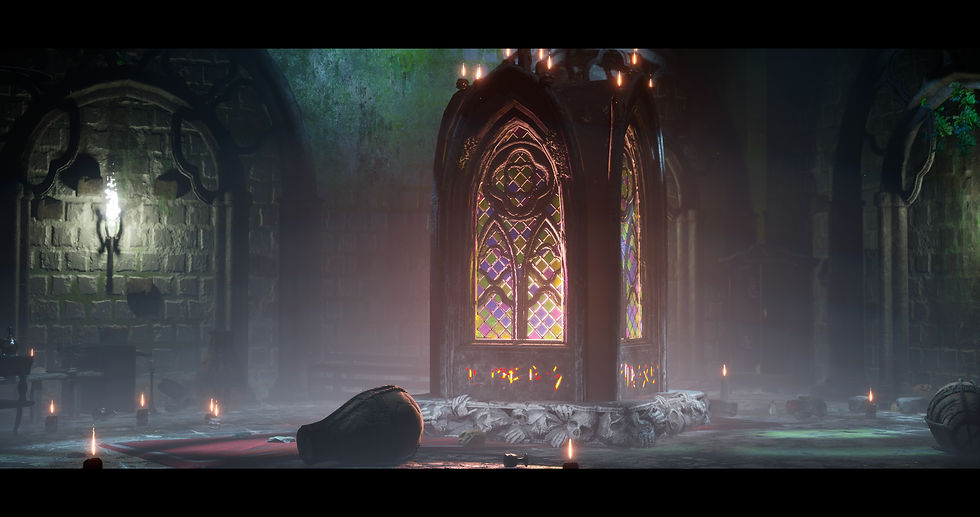
Suggested in feedback from my lecturer, I added pools of melted wax as seen in Diablo IV in areas that have lots of candles, and also increased the amount of candles around my scene.
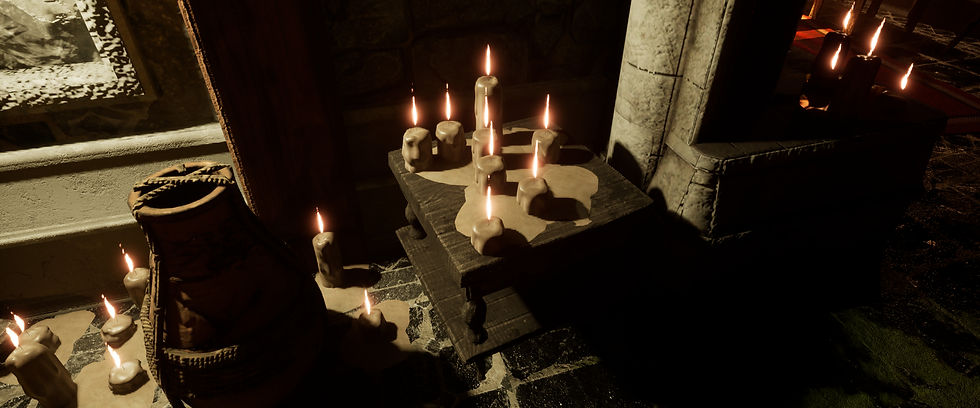
I next created a new asset inspired by renders of Diablo IV where there are a lot of pottery assets to fill up empty space. I created my own pot using crack alphas (SimonFuchs, 2015) and sweep meshes in Maya to create rope wrapping around it.

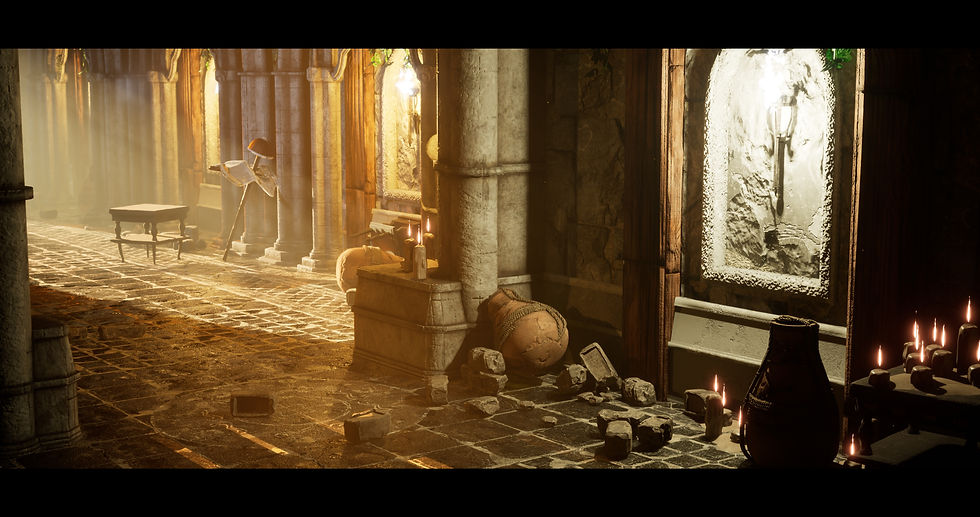
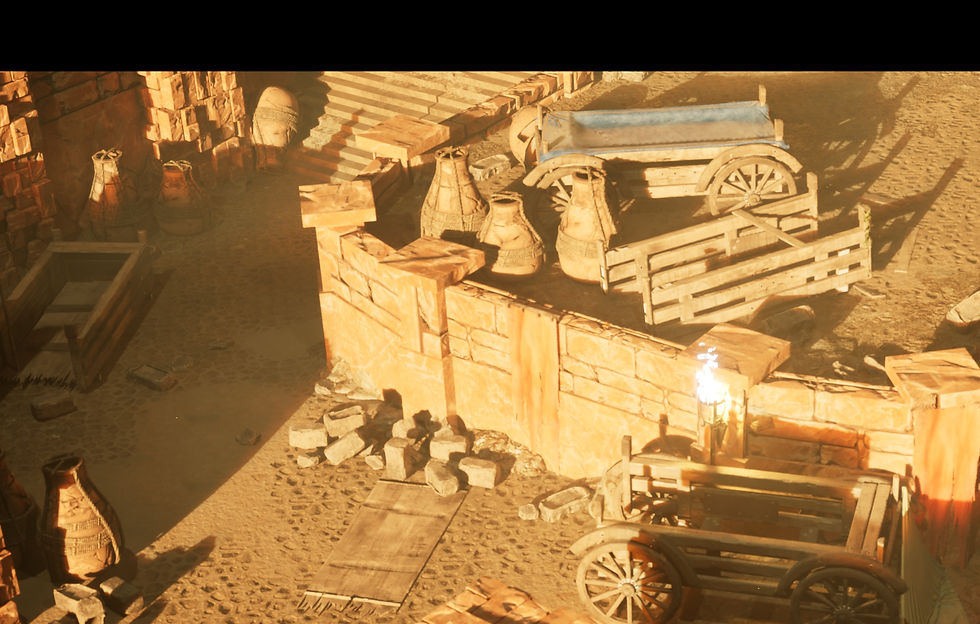
I added the rubble in the renders above, using simulations and collisions and letting them naturally fall. This made the positioning of the rubble much more realistic.
I also used Niagara particles to add very subtle dust and sand floating in the wind around the exterior and the doorway to the interior.
Finally this week, in drawing for games I completed my painting master study of an environment.

Bibliography:
Polycam (2024). Polycam - LiDAR 3D Scanner. [online] poly.cam. Available at: https://poly.cam/.
SimonFuchs. (2015). [ZBRUSH] – Sculpting Damage – Alphas and Brushes. [online] Available at: https://simonfuchs.wordpress.com/2015/05/24/zbrush-sculpting-damage-alphas-and-brushes/.


Comments