


Week 3 - Tileable materials and improving modular kit
- Sam Ayer
- Feb 9
- 3 min read

Updated: May 6
I began week 3 by downloading Substance Designer for the first time to create my first tileable materials. I followed a tutorial on a Mural (mural.co, 2026b) provided to us by the university to gain the knowledge I would need to create my own material.
My idea was to create a semi-organised brick wall with dark brown colours which could be used for my desert walls or my interior walls. As I had no experience with this software, I decided this material would be taken as an experiment, and may not be used in my final piece.
I used a brick generator for the base and used blend nodes to add variation in shape and colour. I used old castle bricks as a references for this.


I was happy with the final result but could improve on some of the colours before using it in my environment. Additionally, to make the material fit onto my mesh, I would need to rotate some of the UVs so that they all faced the same way.
Next, I decided to create a modular door piece to provide an entrance into the interior area for the player. I wanted to make it quite an ornamental piece with many details that would work well with a trim sheet material.
My references came once again from in game renders (Wade, 2023) and websites containing many church entrances (Geograph.org.uk, 2026).


I made sure when modelling the door that it snapped into the rest of the modular kit. I am happy with the final results and took Maya wireframe and ambient occlusion renders of it.


I knew that I wanted to create areas with wooden planks between the interior and exterior area, as this is seen a lot in Diablo IV. Many walls within the game were made of stone with wooden planks supporting them. I wanted to use this idea in my environment and create a stone wall which is lined with wooden planks on the outside of the building.
I began by researching houses in the early stages of buildings to see how wood is positioned in real life to hold the best support. Houses, buildings and scaffolding all use triangles within their structures to hold the best support. I would use this in my design to make the most realistic outcome possible.

The mesh is square so would work well in the modular kit and tileable materials in the future.


I next created a new corner piece for my interior area which would connect seamlessly to my wall pieces. I edited the tops of the wall wall pieces to better fit to my corner piece.


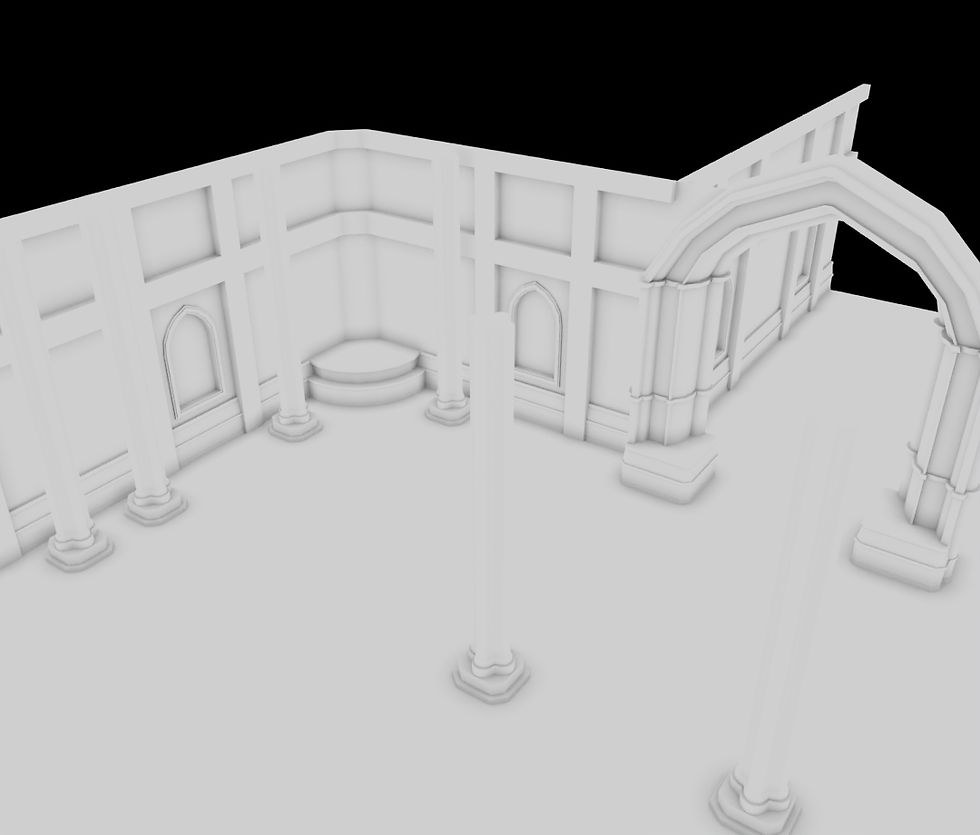
The empty area on the circular part of the corner piece will be used in the future as a stand for a hero asset.
I attempted modelling a high poly asset this week to get used to the workflow and as a test of what I could do later. I modelled a couple pieces of armour in maya and created a high poly in ZBrush. I baked the high poly onto the low poly in Substance Painter and created metal and leather textures for it.
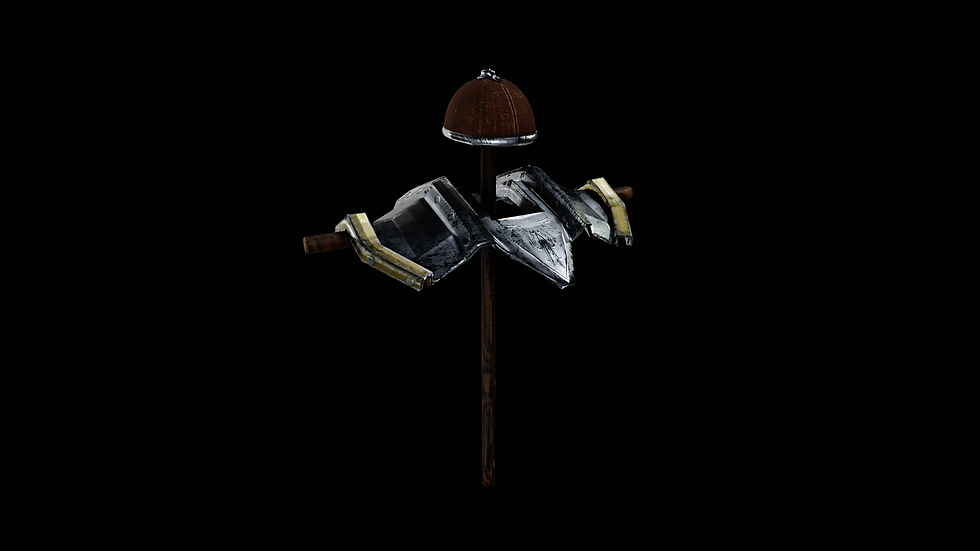

This model could have been improved with a better bake as there are some black areas where the high poly did not exactly match the low poly.
My final change this week was remodelling and rearranging the entire exterior section so that it would fit better with my new modular interior pieces. I based them off the old pieces but changed some of the angles and the scale.


Drawing for games work this week:


As the model was laying on a blanket, I found these studies particularly helpful to learn how people interact with fabrics. This is helpful as I am likely to use fabrics and cloth later on in my project.
Bibliography:
GameRiot (2023). DIABLO 4 Gameplay Walkthrough Part 5 - ACT 3 (Full Game). [online] YouTube. Available at: https://www.youtube.com/watch?v=asQE19oHVII [Accessed 31 Jan. 2026].
Geograph.org.uk. (2026). 515 images tagged with ‘church doorway’ :: Geograph Britain and Ireland. [online] Available at: https://www.geograph.org.uk/tagged/church+doorway [Accessed 9 Feb. 2026].
Wade, D. (2023). Blizzard Entertainment Diablo IV — Environment Art Blast. [online] ArtStation Magazine. Available at: https://magazine.artstation.com/2023/07/blizzard-entertainment-diablo-iv-environment-art-blast/.
(2014). Castle Life - Rooms in a Medieval Castle. [online] Available at: https://www.castlesandmanorhouses.com/life_01_rooms.htm.
(2026a). GAR106 - Seamless Brick material in Substance Designer. [online] Available at: https://app.mural.co/t/gamesacademy5502/m/gamesacademy5502/1676586688804/68e0003526a0b2953cb3a55130f2e787ad98bee3?sender=u83304563539c7eea1fcb1681 [Accessed 9 Feb. 2026].


Comments