


Week 5- Flooring and asset creation
- Sam Ayer
- Feb 25
- 3 min read

Updated: May 6
Before I started on my week 5 work, I received feedback from my lecturers on my trim sheet from week 4. I was advised to add some more albedo variation in the rock and more height variation in the welding. I researched a few more images and used them to make accurate changes to my trim sheet.
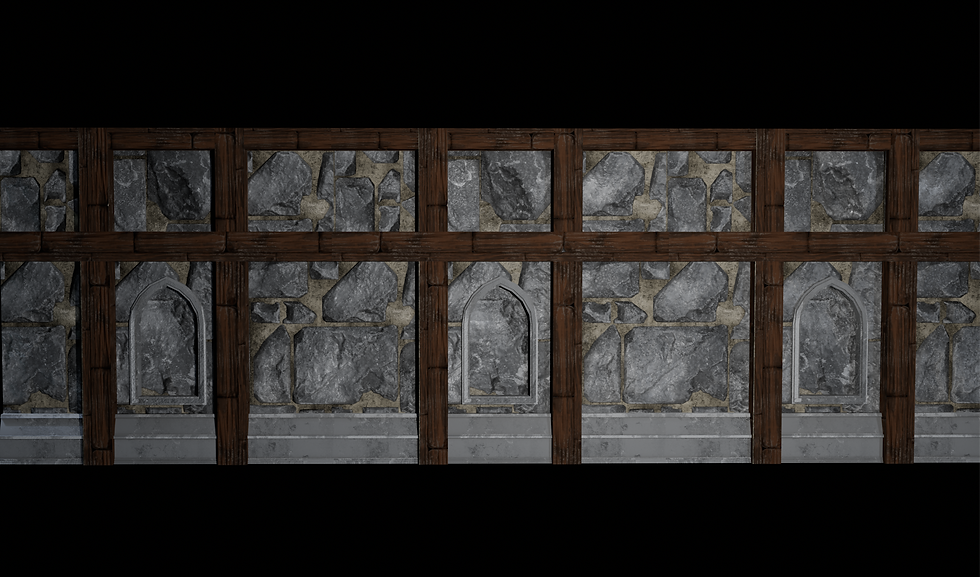
Once these changes had been made, I began creation on my main task of week 5 which was creating floor tiles. I planned to do this using one 2k trim sheet texture which would have 4 sections of tiles on it, creating as much variation from one trim sheet as possible. Most of my inspiration for this flooring came from in game renders of interiors.
I wanted the floor to seem very ornamented, as if the building used to be grand and important.
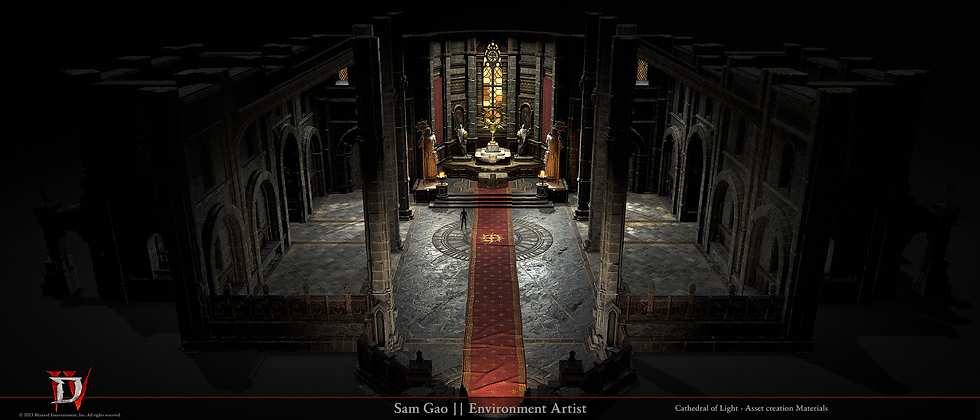
I was interested in the circle feature on the floor in this game render (Wade, 2023) and decided to include something similar in my trim sheet. To save texture space, I would only make a quarter of the circle design which can be then multiplied round to create the full circle.

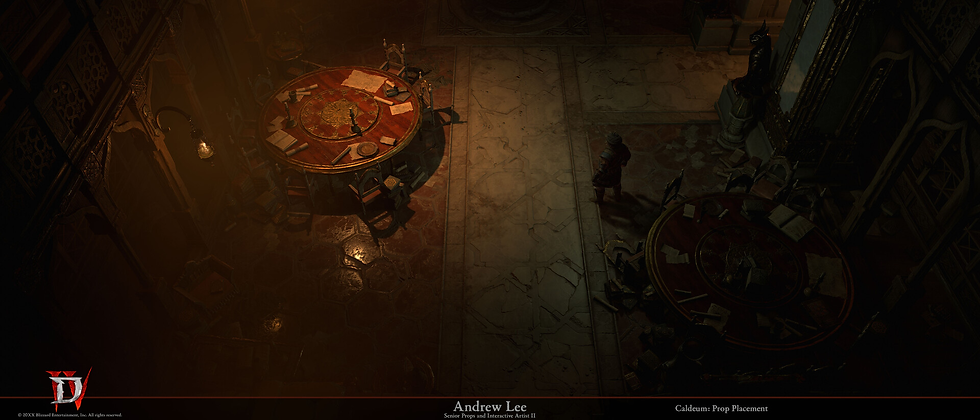
After researching more of the game's flooring, I began my high poly sculpt. Like my last trim sheet, I took advice from a YouTube tutorial explaining how to create rock forms in ZBrush (Abe Leal 3D, 2025a). Using Maya to block out shapes, and then DamStandard, TrimDynamic, ClayTubes and TrimSmoothBord in ZBrush, I created a high poly sculpt of 4 rock flooring designs to fit one 2k texture.
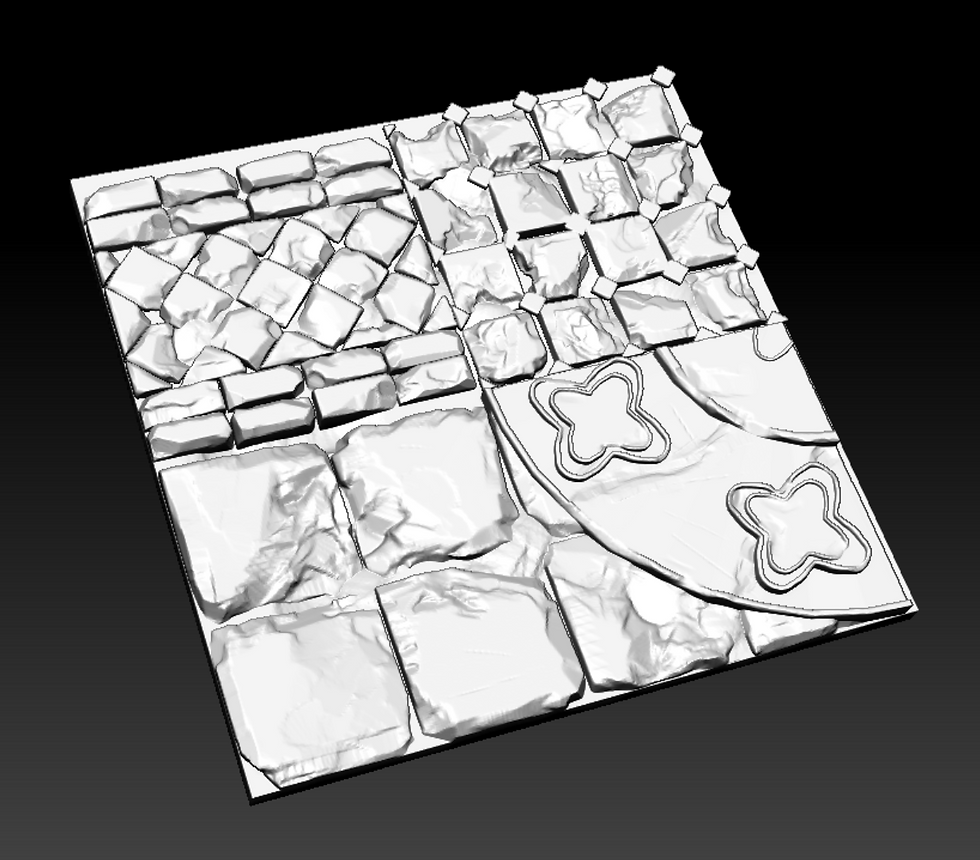
When creating this sculpt, I made sure to remember the advice given to me after my last trim sheet and tried to create a lot of shape and height variation.
Next, I took my sculpt into Substance Painter and baked it onto my plane. I create two materials in Substance Painter: a darker rock material and a darker welding material, both similar to my last.

I next assigned four different planes to each of the 4 sections of UV space. This created 4 different tiled sections of floor from my single trim sheet.
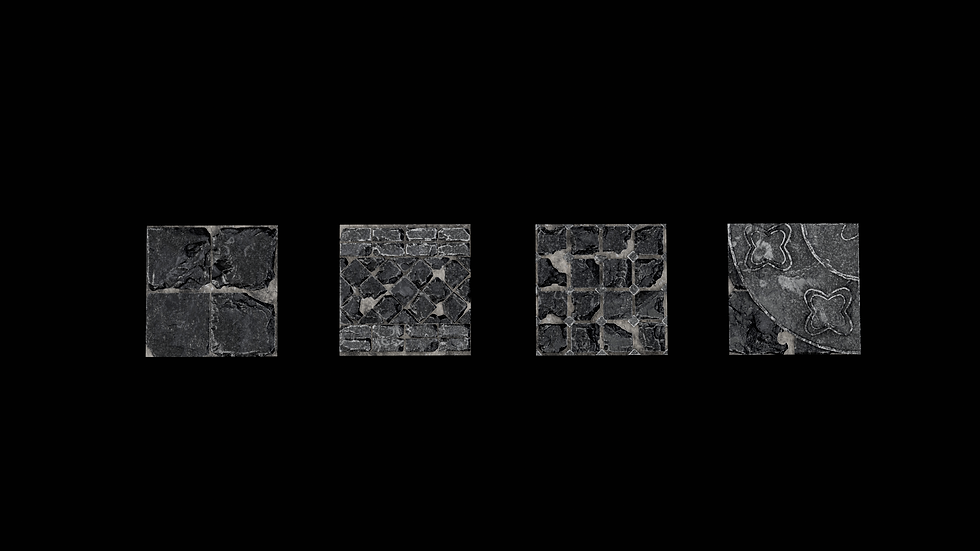
I could now use these pieces in any combination to create an interesting tiled floor. I tried laying the tiles out in Marmoset Toolbag to experiment with combinations.

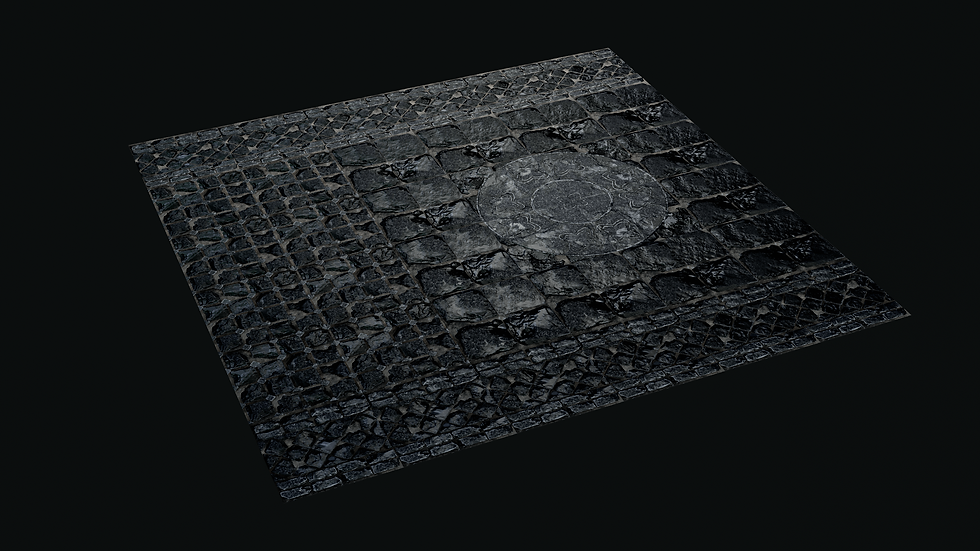
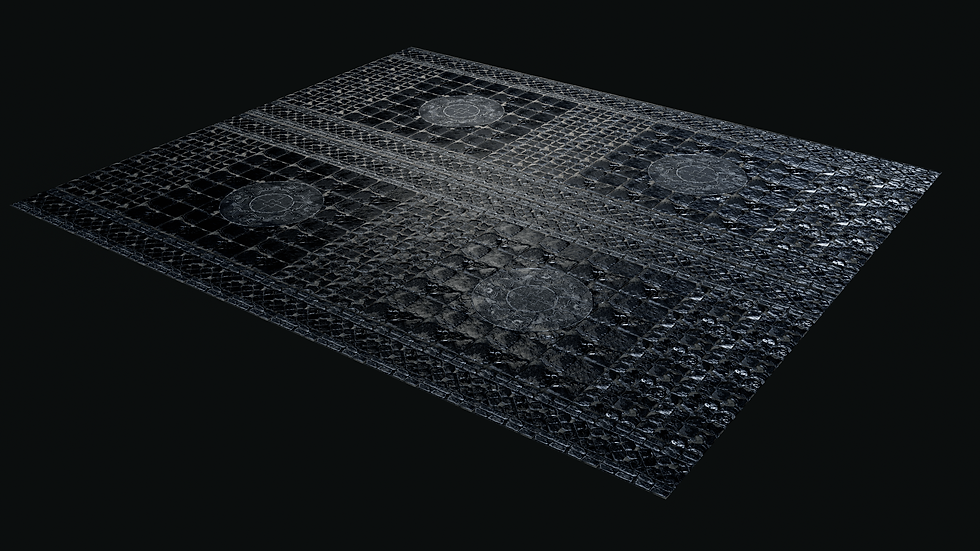
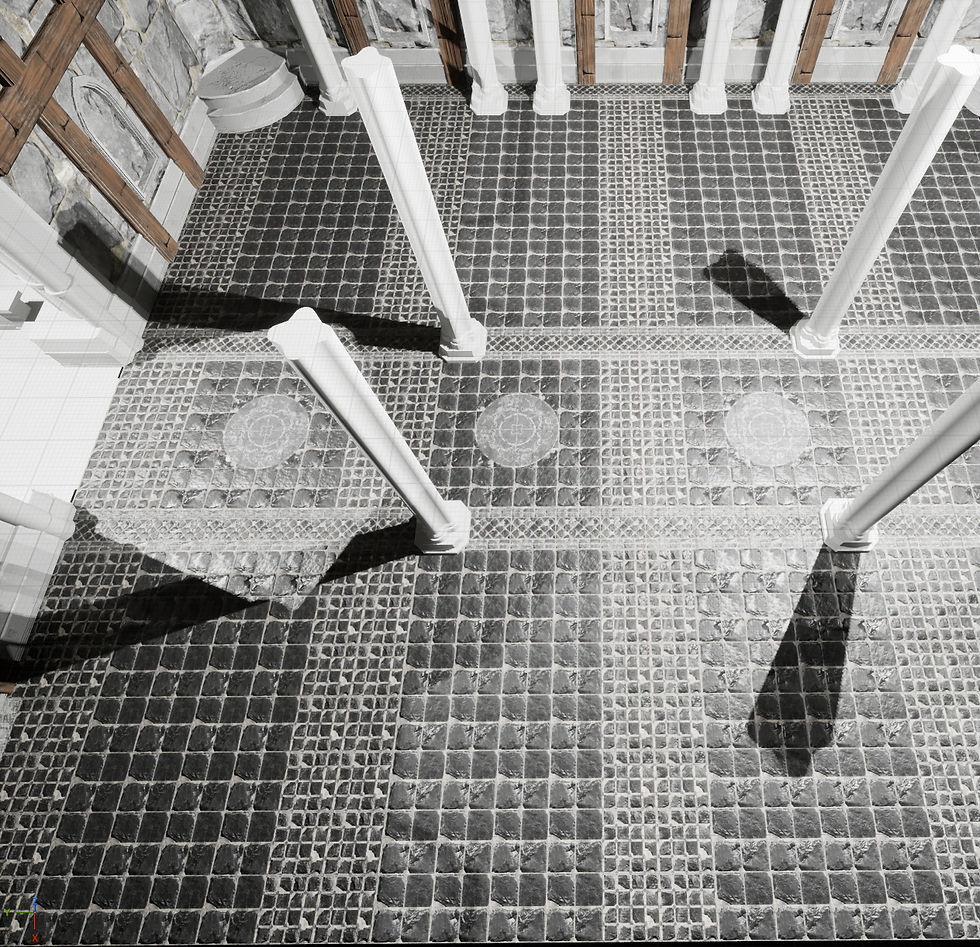
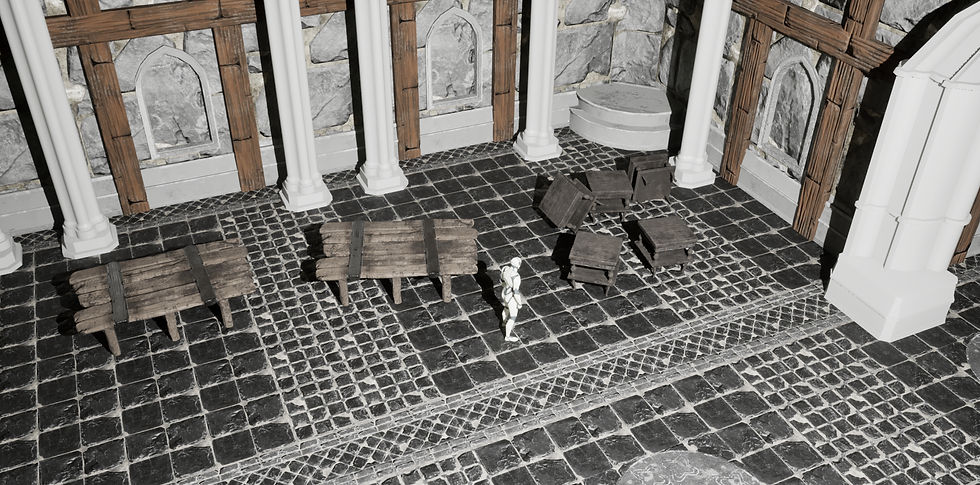
After finalising my design, I took the tiled pieces into my Unreal Engine scene and placed them to fit my interior.
The next thing I did this week was begin creating some furniture assets to begin filling the empty space in my scene.
I began my creating a small mood board for interesting old furniture I had found.
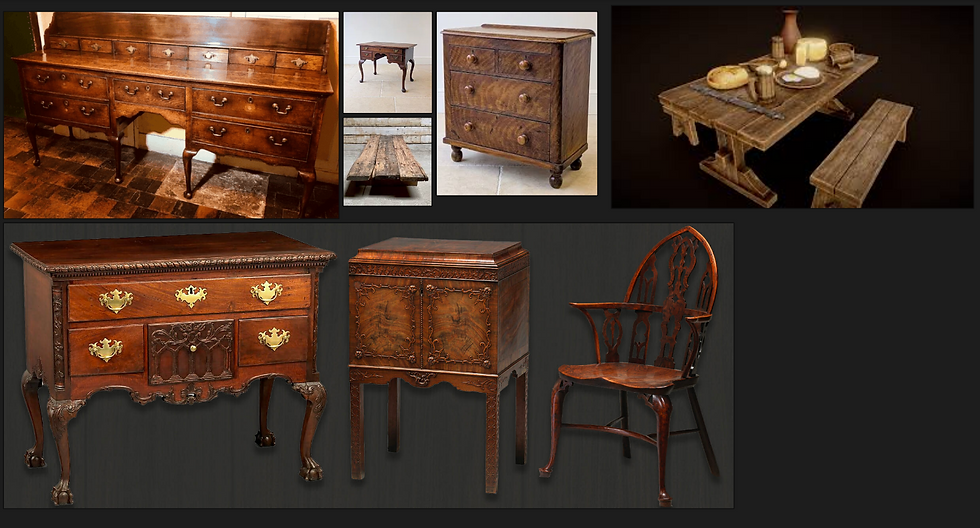
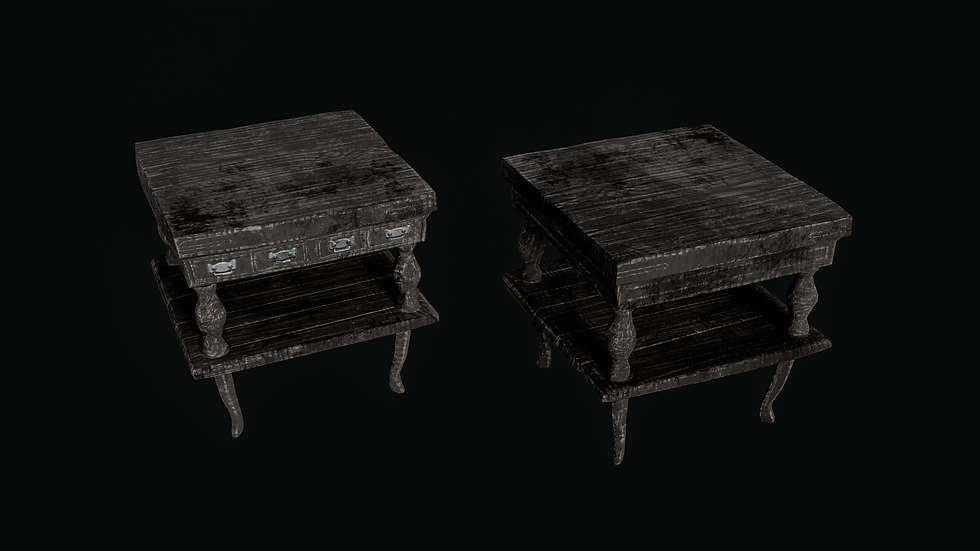
I first blocked out a low poly wood plank table asset, as well as a low poly bed side table asset and took them into ZBrush to create a high poly for each of them. I used similar techniques to how I had learnt to make rocks and wood in the past (Polygon Acadamy, 2019), and damaged the edges to make the furniture look old an used.
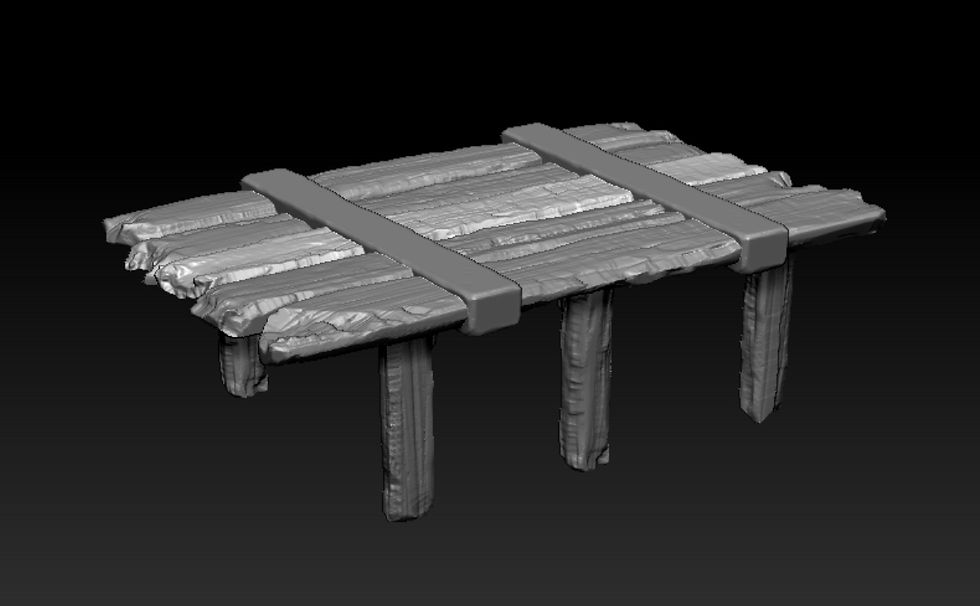
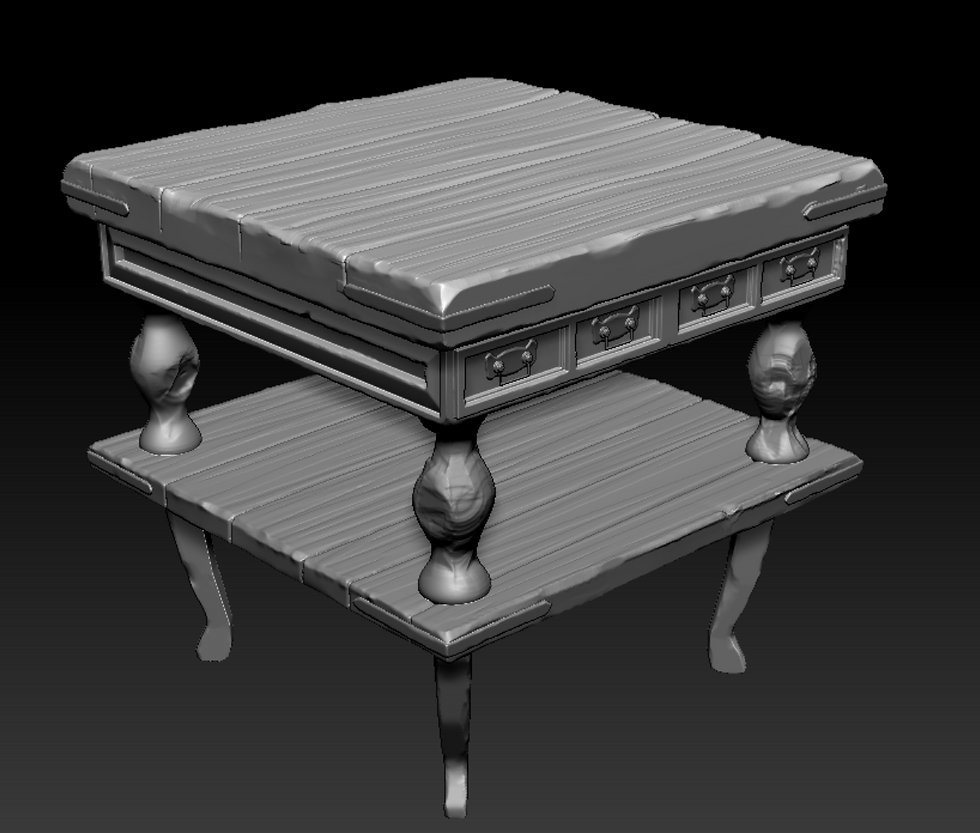
I took two different approaches to creating the low polys for these assets. I used ZRemesher for the larger wooden table, and created my own low poly using Maya's quad draw for the bed side table. This was a good test to evaluate which method worked best. In the future I will use quad draw as this created the lowest poly result.
I colour coordinated both high polys for Substance Painter colour selection before baking both high polys onto their low polys. I created two wood and metal textures and applied them to different sections of the meshes using colour selection.
I then rendered these assets in Marmoset Toolbag.
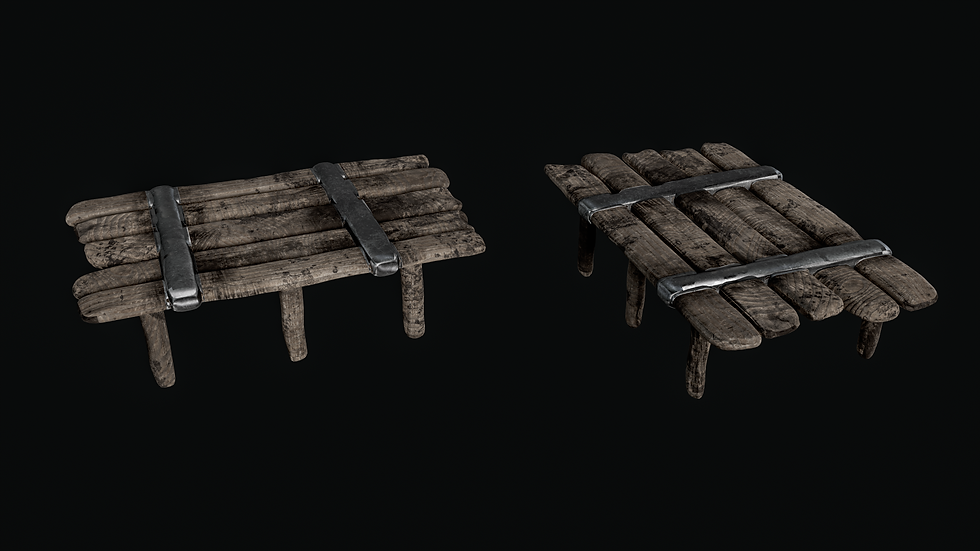
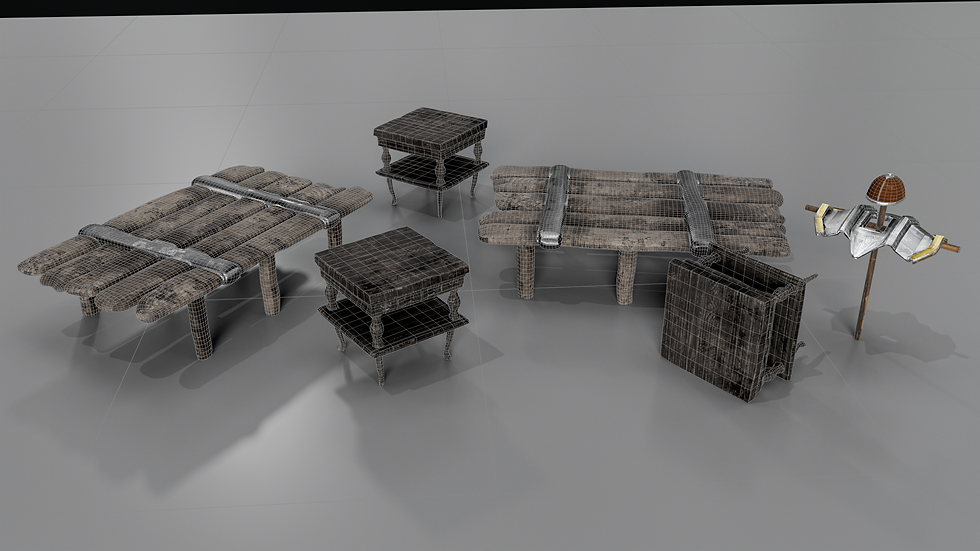
I finally presented these new assets with my previous armour asset together to create a rendered display of my current asset kit.

Drawing for games work this week:

Bibliography:
Abe Leal 3D (2025a). Sculpting Rocks in Zbrush for your Environments! [online] YouTube. Available at: https://www.youtube.com/watch?v=vyYvRLKAC9E [Accessed 22 May 2025].
Polygon Acadamy (2019). TUTORIAL: Sculpting Wood in ZBRUSH - 3 EASY STEPS! | Polygon Academy. [online] www.youtube.com. Available at: https://www.youtube.com/watch?v=HiwV_C3IWQI.
Wade, D. (2023). Blizzard Entertainment Diablo IV — Environment Art Blast. [online] ArtStation Magazine. Available at: https://magazine.artstation.com/2023/07/blizzard-entertainment-diablo-iv-environment-art-blast/.


Comments