


Week 8- Shrine room and rubble
- Sam Ayer
- Mar 15
- 7 min read

Updated: May 5
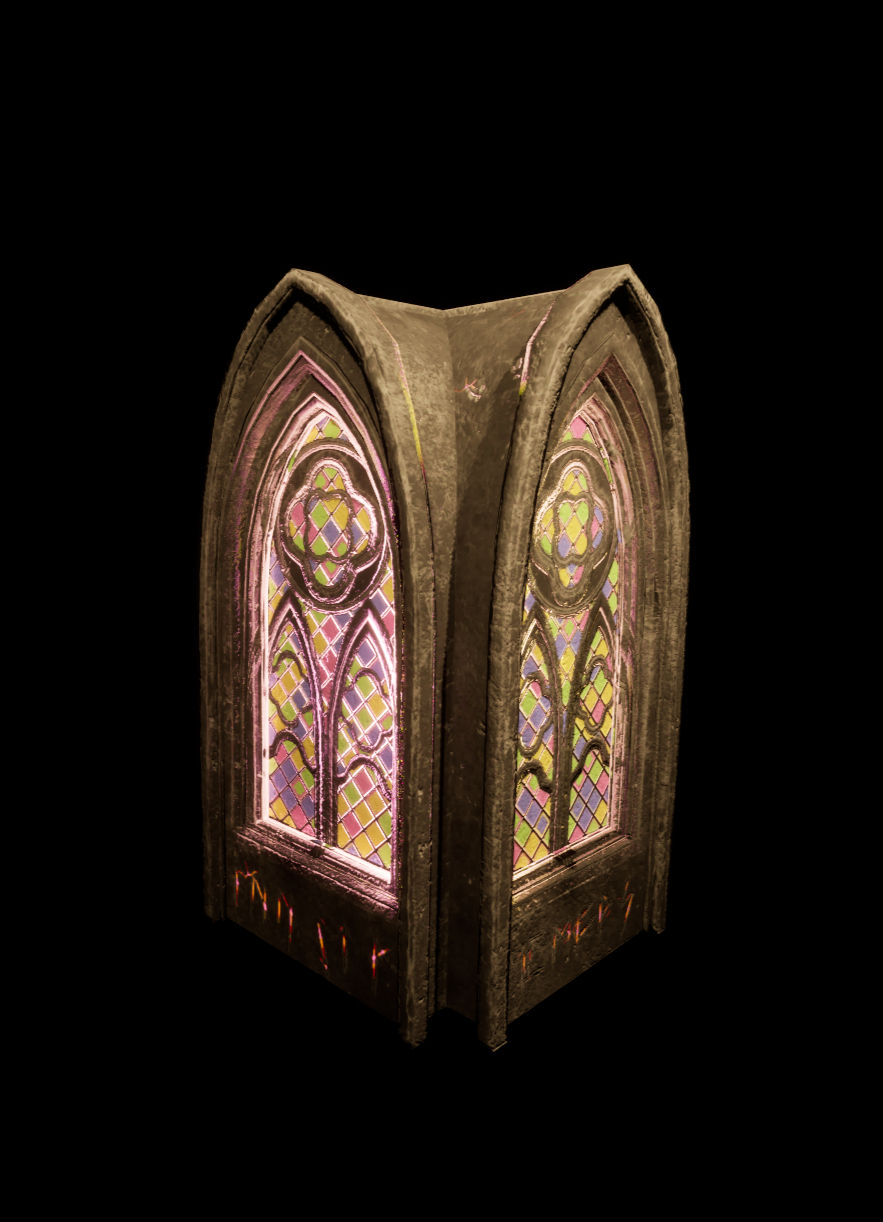
The first thing I did in Week 8 was plan the shrine which would act as the main point of interest in my environment. As most of my environment was dark and felt abandoned, I wanted the shrine to give the impression it has lasted the test of time and still had the essence of magical significance. I decided I would do this by making it have stained glass windows, with light shining through them from the outside, which would symbolise the elegance of the shrine.
The rest of the shrine would follow the theme of the rest of the environment and be made of stone arches. Before starting, I researched stone archways and stained glass windows to gain inspiration (Redwood Stone, 2020) (Leadbitter Glass, 2023).

I then created the low poly of my shrine in Maya based off the references I had found. I left a plane where I would bake my high poly details onto for the details of the window.
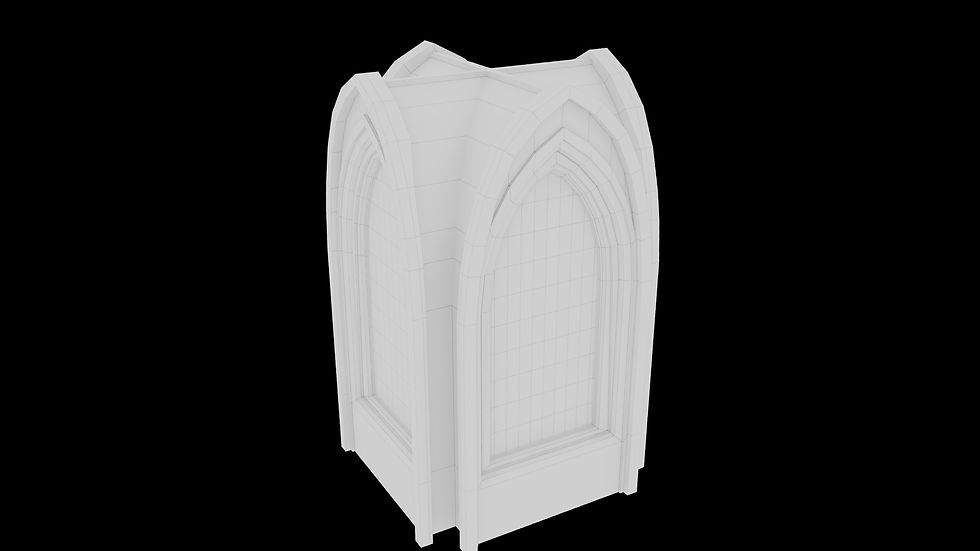
I then modelled the details for the high poly mesh which would eventually be baked into the low poly.

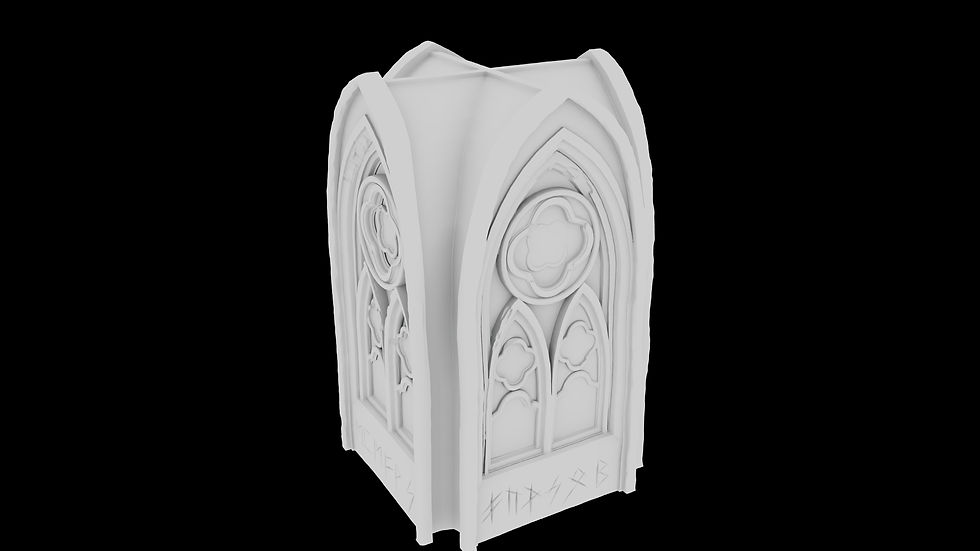
I then smoothed the model, added bevels to keep the geometry, and took it into Zbrush to sculpt in damage. I used the Orb cracks brushes (Vicente, n.d.) to add damage and wear to the model.
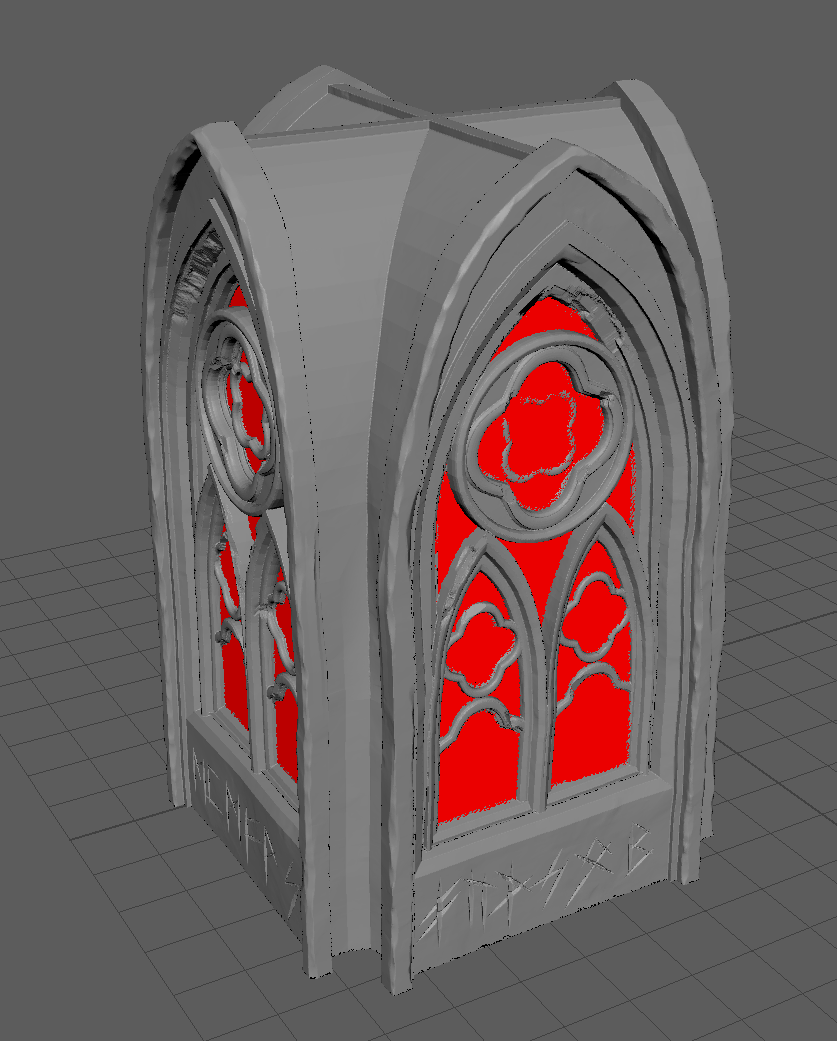
I colour coded the planes where the windows would be so that I could use colour selection when I take it into Substance Painter.
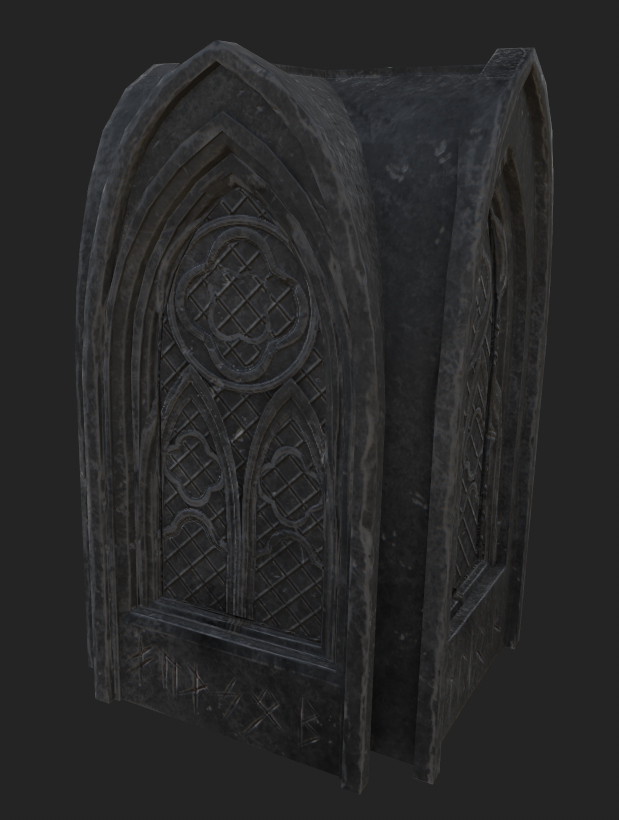
I then baked the high poly onto the low poly in Substance Painter and created a rock texture using grunge maps and dirt generators. I used various colours and roughness in these grunge maps to add rocky variation to the surface.
To create the windows, I used an inverted tile generator and rotated it 45 degrees to create a diamond pattern.
I then duplicated this 4 times and coloured them the four different colours of my stained glass.
I inverted the tiles again so that they were back to normal, and increased the scale of the generators for the colours. This meant that they filled the spaces in each of the diamonds frames.
To make the colours vary, I made their random seeds differ, and edited the luminance random and the random mask of each colour until I roughly had an equal amount of each colour.

I gave the windows no roughness and a slightly metallic coat so that they would react well with light.
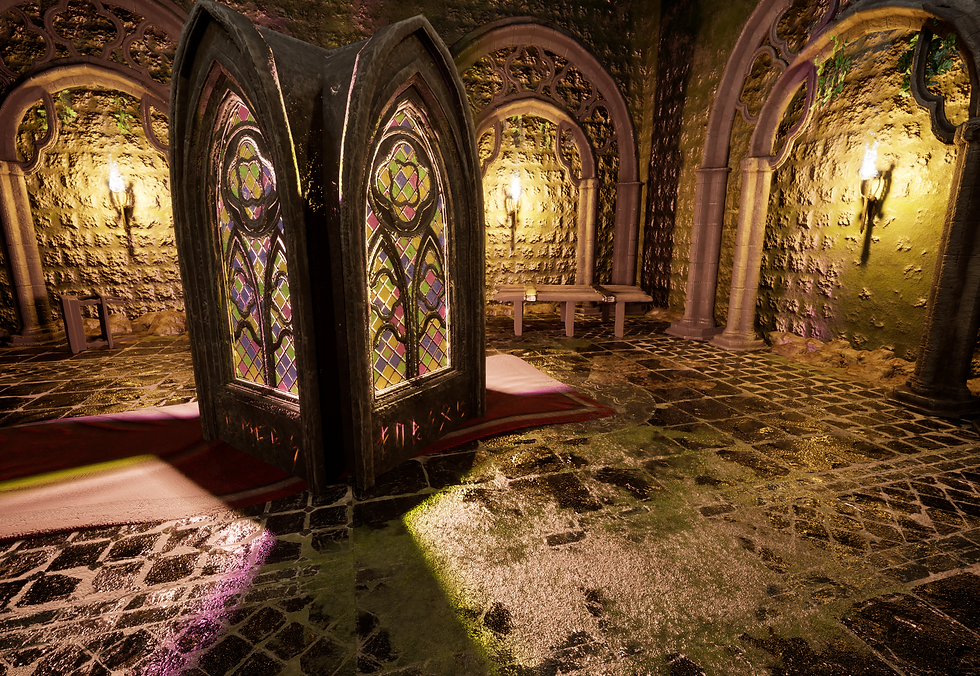
Although its hard to see in the Substance Painter render, I added a red emissive material in the gaps of the cracks in the rocks, and the carvings of the runes. I did this by combining a dirt generator with a paint mask so I could paint where I wanted the dirt generator to react to my model. This is more visible in the Unreal Engine render.
I wanted the shrine to give the effect that it was emitting light from inside it. I exported the mesh and the textures into Unreal Engine and put yellow, pink and blue lights inside of it. I made sure to patch up areas that could leak light meaning that the only place light would be able to get through is through the windows.

I wanted to create an entirely new room for my shrine to be placed in, so I planned out how I could expand the current environment. I came to the idea that the further that the player walks through the dungeon, the more damaged, mossy and unpleasant the environment will feel, and the shrine would be found in the "shrine room". The shrine room would be made to appear like a disposable room for old possessions in a dark and mossy rock room, with the glowing shrine in the middle, giving a magical and mysterious vibe.
I planned to achieve this a few different ways:
I would create a rubble asset which I could place on the edge between the walls and floor of the whole environment, but build it up more as the player goes through the environment.
Do the same thing with a rubble decal which would become more common the further you go through the environment.
Create a new stone brick material for the walls of the room
Create a moss texture which could be vertex painted on the floors and walls of the new room.
Create a rug asset for the floor of the room
I created the mesh for the rubble asset in maya by creating a sphere and selecting chunks of vertices and enlarging them to make random lumps over the sphere.

I next created the material by taking an image of rubble I had found from the internet and using Substance Sampler to create the maps needed from the image.

Maps created in Substance Sampler:
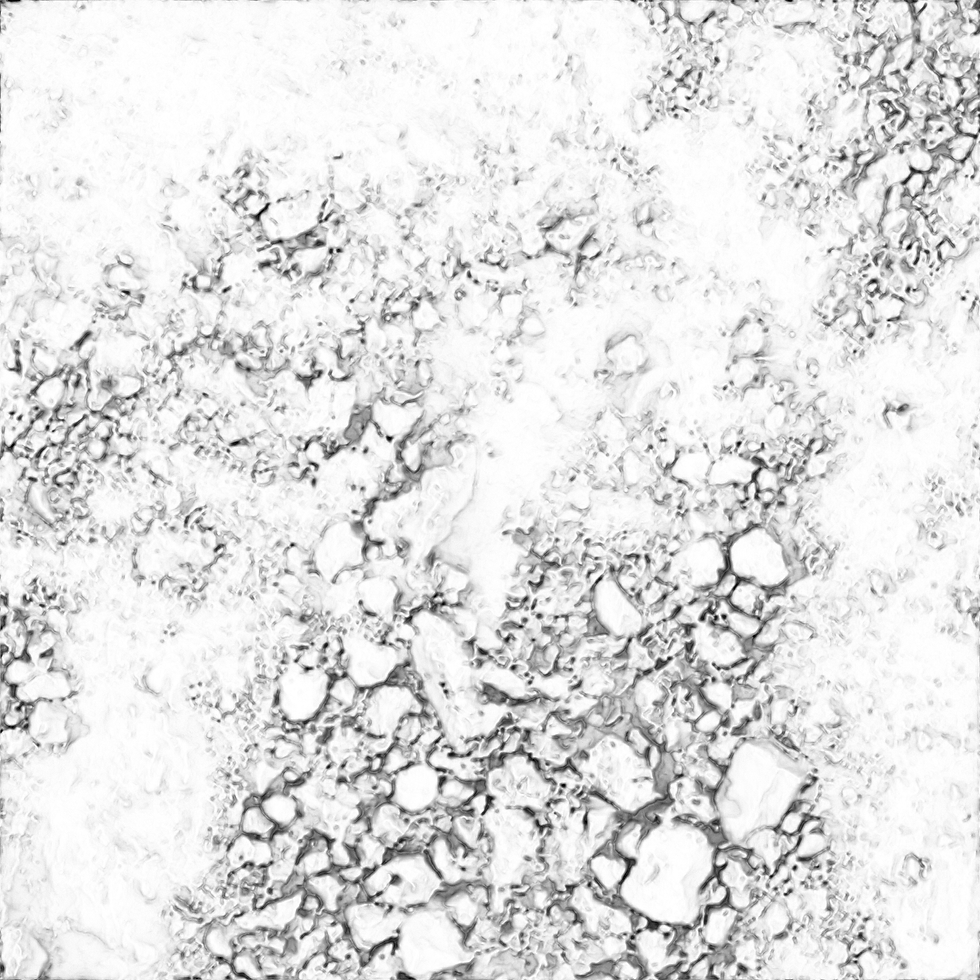

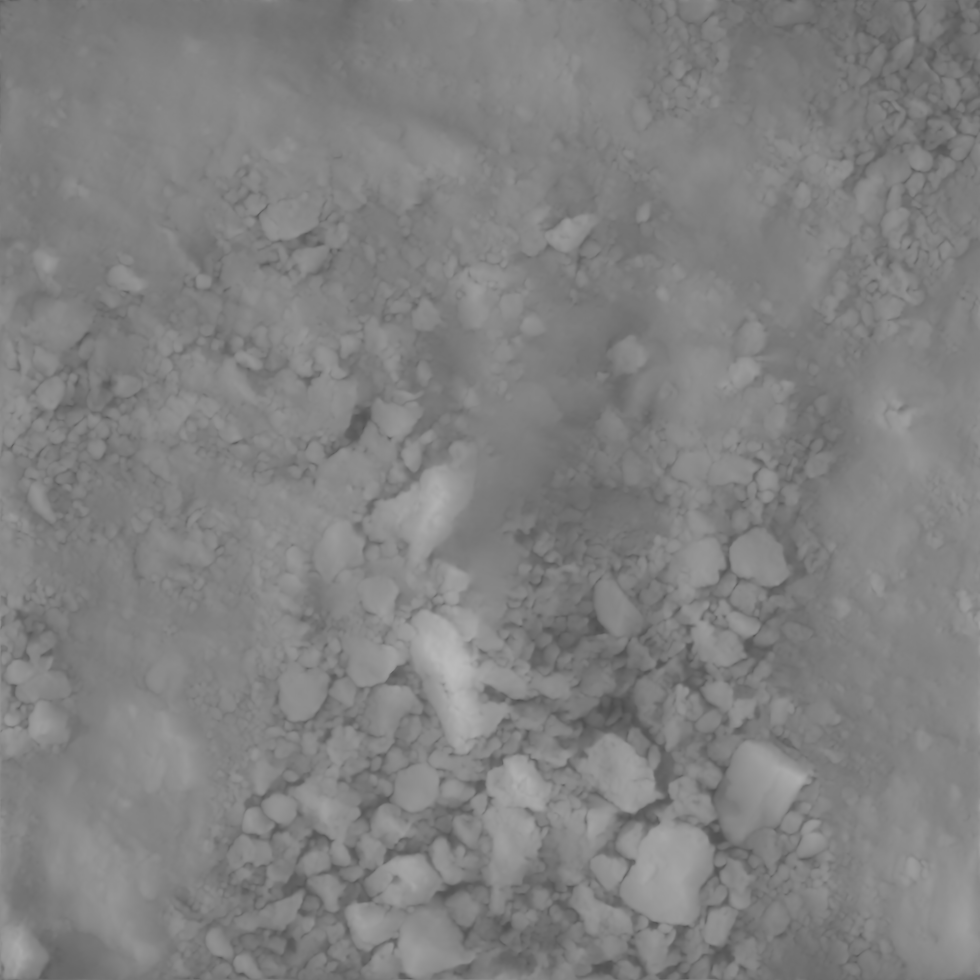



I applied these maps to a material in Unreal Engine and then applied the material to my mesh.
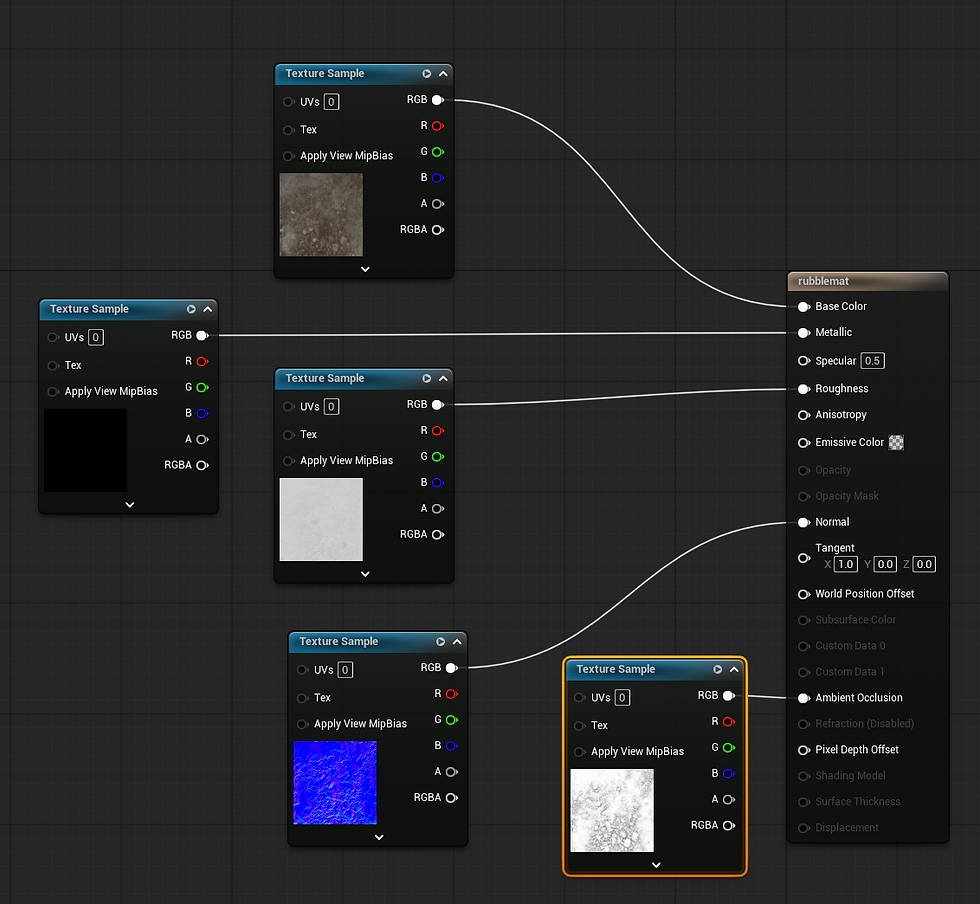


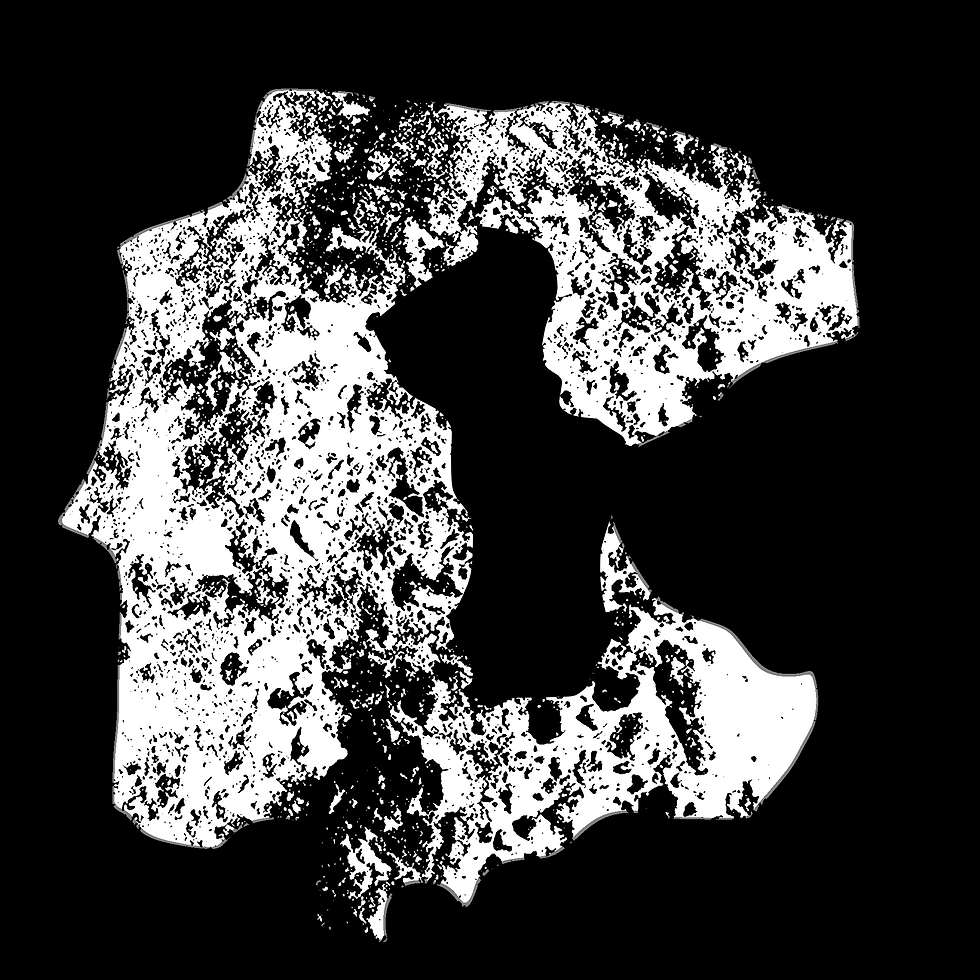
To create the rubble decal, I used the same maps I had used for the rubble mesh asset. The only extra map I needed for a decal was an opacity mask map. To create this, I took the base colour map into photoshop, turned it into a greyscale and used the levels editor to create the opacity mask. I cut out bits of the map that I didn't want to be in the decal with solid black, and left areas to be shown as solid white.
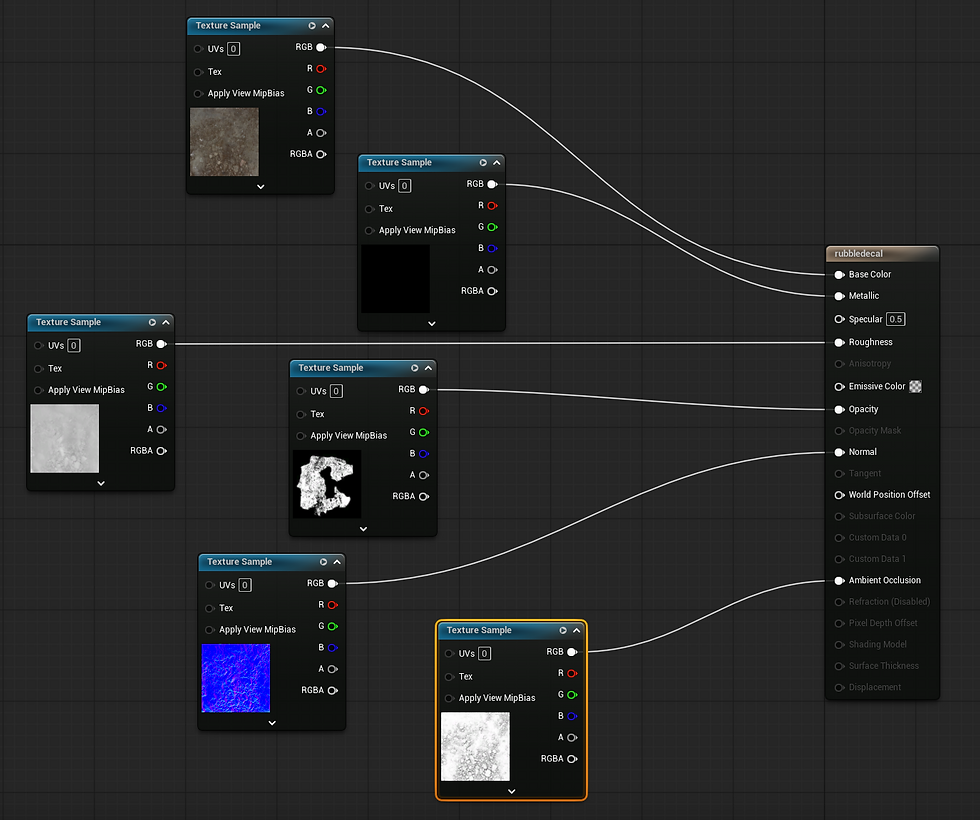
I then connected all my maps in the corresponding inputs on a decal material in my Unreal Engine scene and set the material blend mode to translucent.
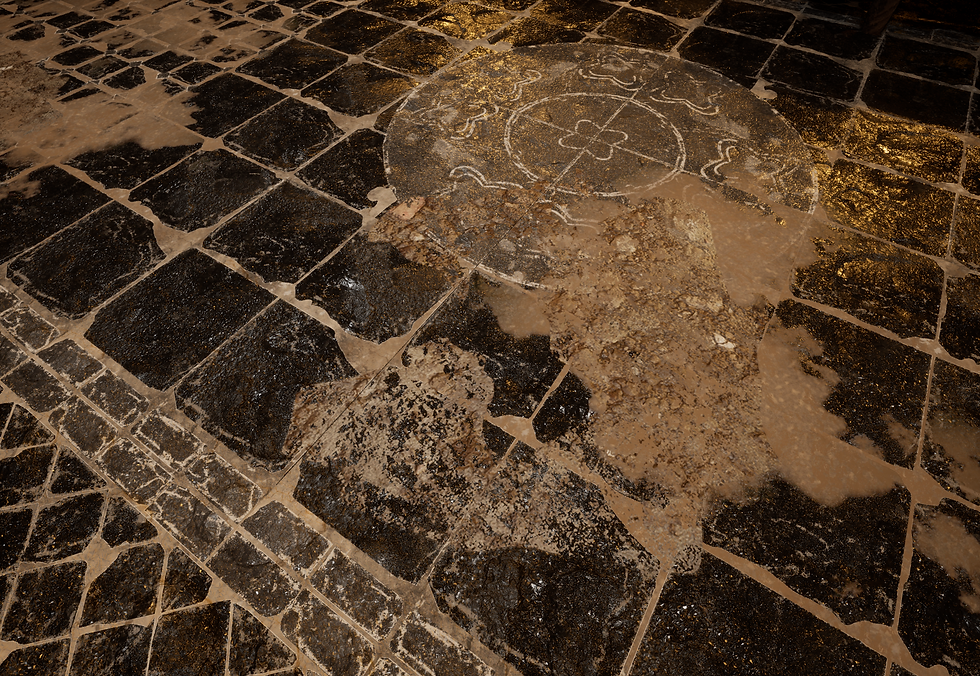
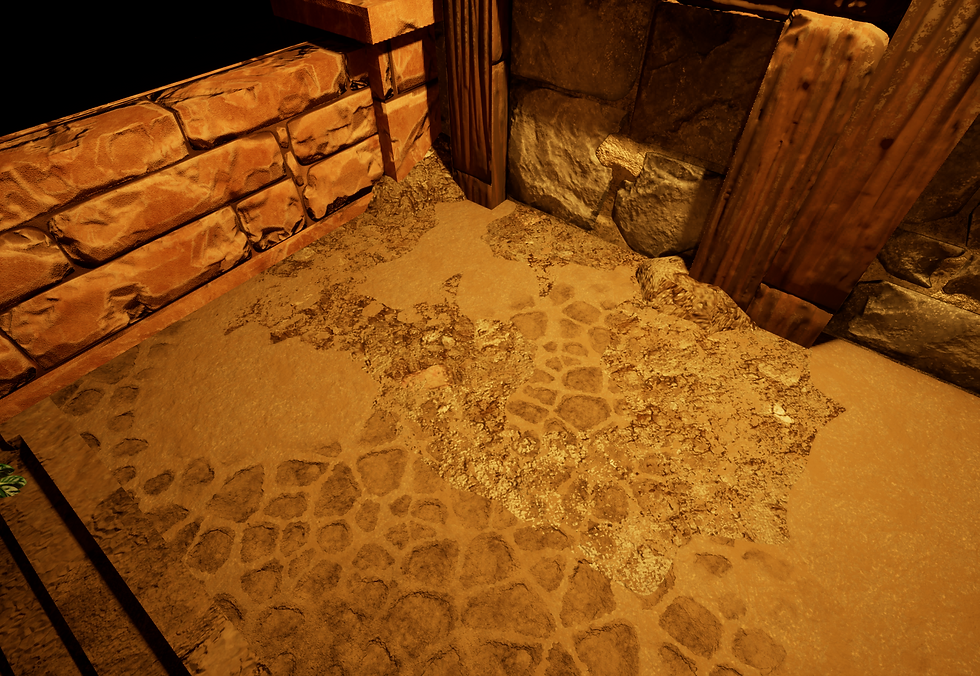
I then placed my decal across my scene.
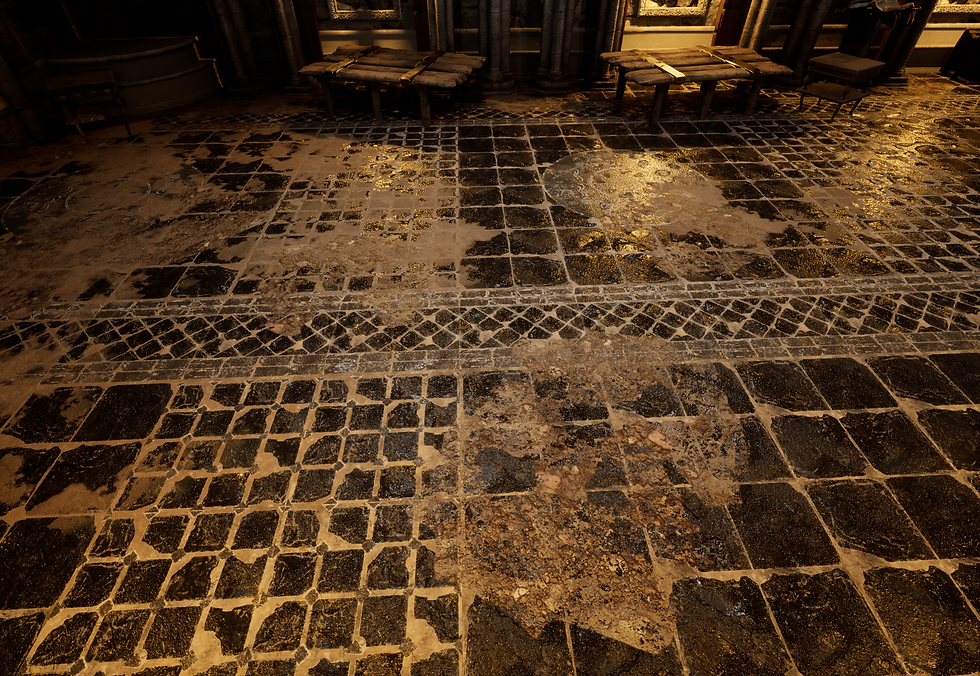
Next, I needed to create a stone brick material for the walls of my shrine room. I decided to this in Substance Designer. I watched a Substance Designer tutorial on YouTube (tea, 2025) and also used a University resource (mural.co, 2026b), to gain inspiration for ways to make brick materials in Substance Designer.
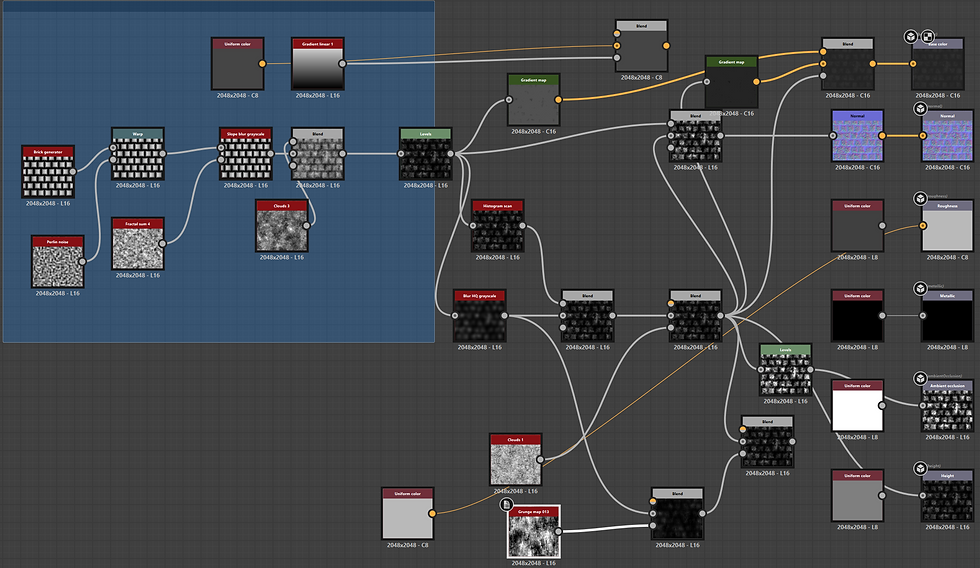
I then exported the texture maps and applied it to a material in my Unreal Scene and applied the material to a plane.

I then set up the vertex painting so that I could paint moss in between the gaps in the stone at varying levels. I started this by creating a moss texture using voronoi and noise generators. I also used grunge maps to add patches of darker and lighter colours.

I then used the same node based set up as I have used before to create vertex painting in a mixed stone wall and moss material.
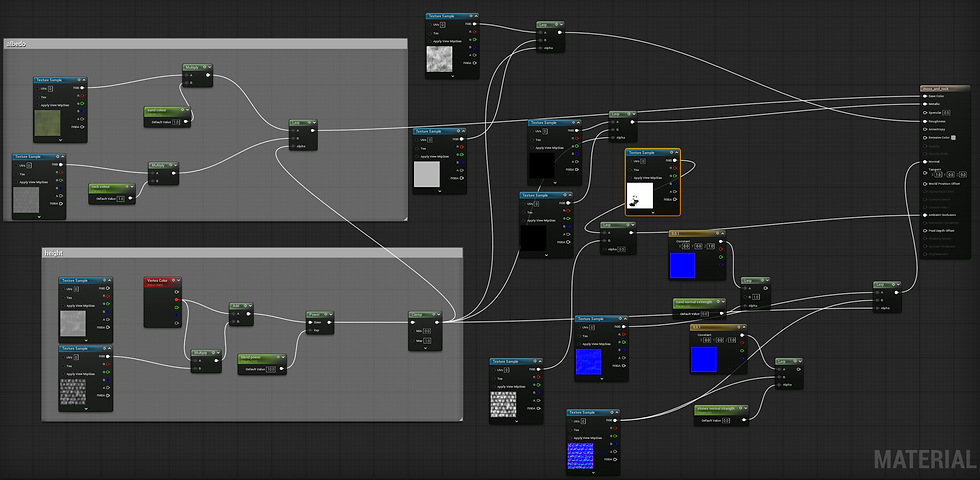

I then did the same process with the tiled floor so that I could also add moss to the floor.

Next I created the base mesh for the rug asset which would be on the floor of the shrine room. The base mesh was just a plane with added thickness which I then took into ZBrush. I dynameshed the plane and used the ClothMove, ClothTwister, ClothPull and ClothNudge brushes to add natural folds in the rug. This would be the high poly asset.
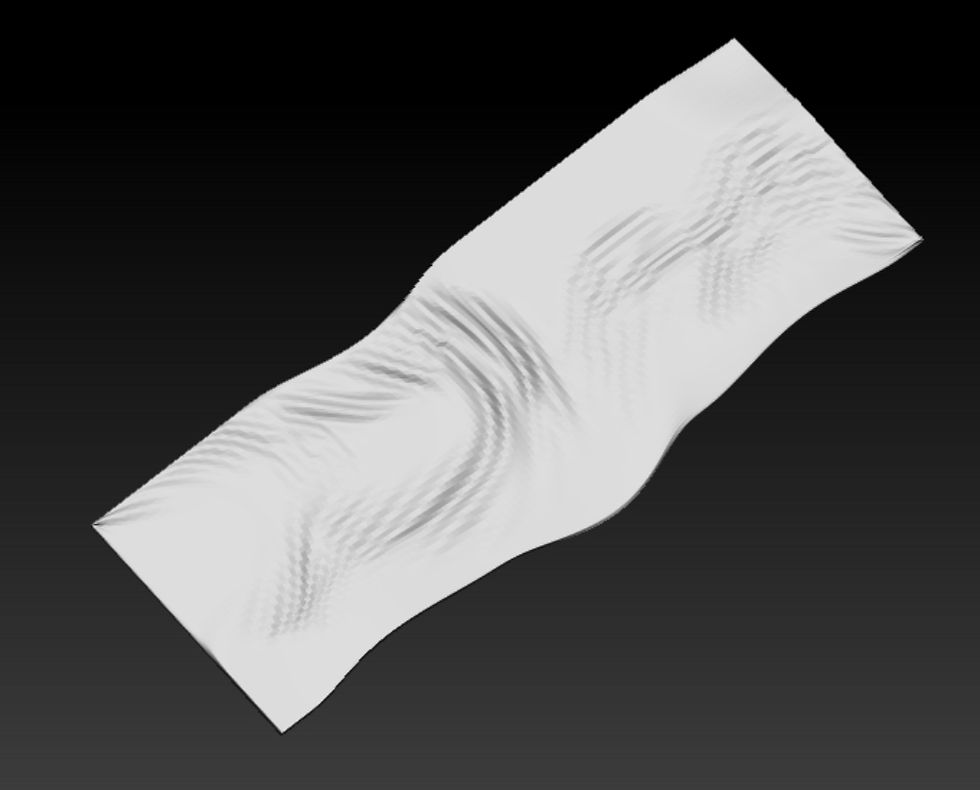
I then ZRemeshed the high poly multiple times to create a low poly mesh.
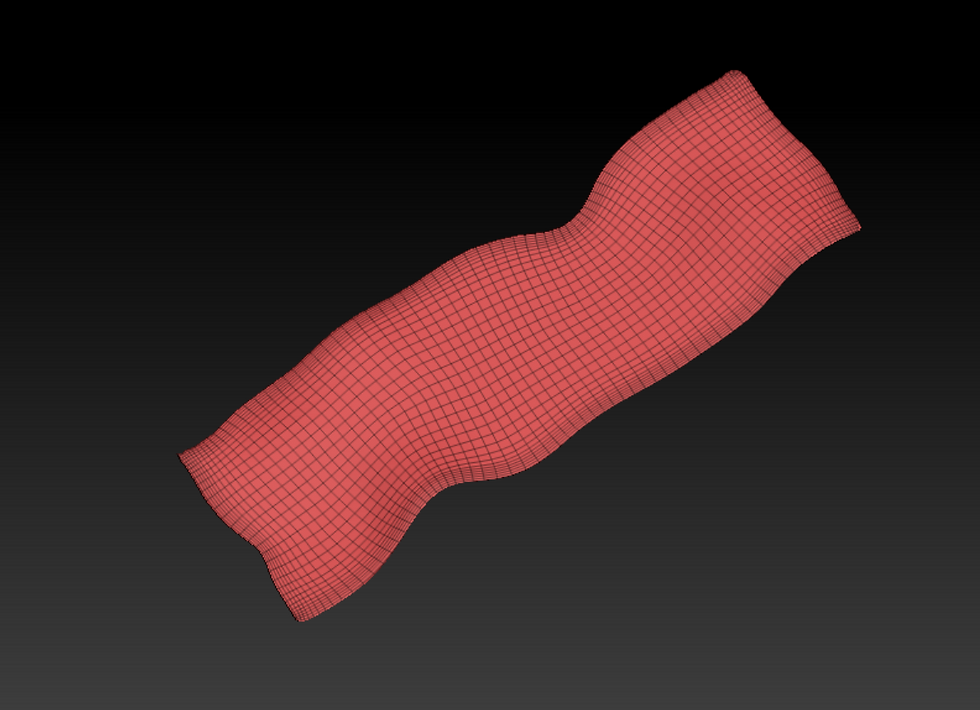
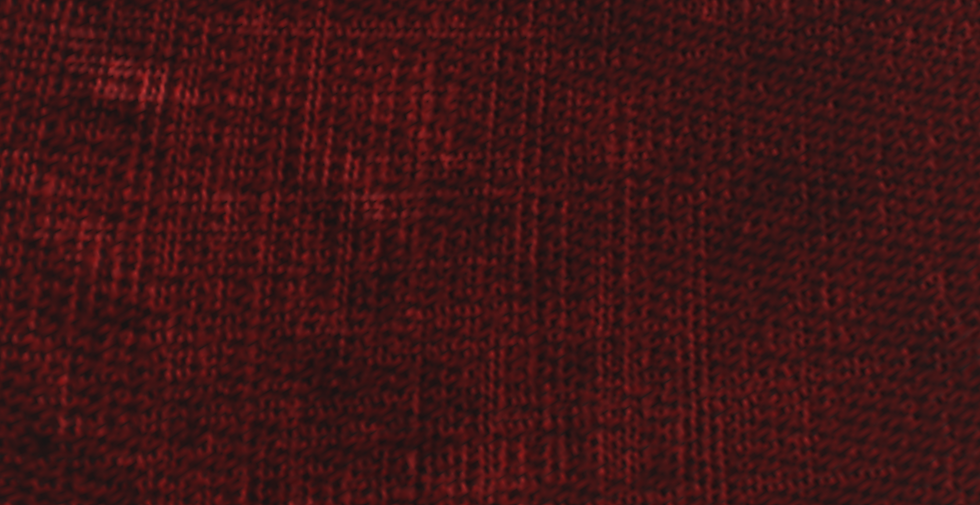
I then took both meshes into Substance Painter and baked the high poly mesh onto the low poly mesh. I used Fiberglass Edge Wear as well as the Weave 2 generator in Substance Painter to create a realistic fabric material effect. I added various grunge maps to add colour and roughness variation.
I used the paint mask to paint a white and black frame to the edge of the rug for extra design.
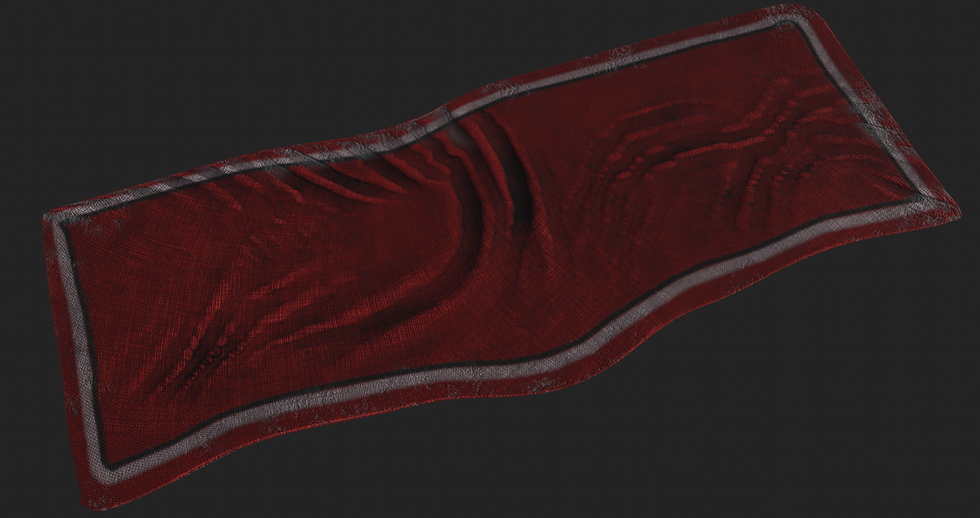
I also used a dirt generator combined with the paint mask to paint on areas of wear around the edges. This was done by altering the colour where the dirt was applied and also decreasing the height of the damaged patches.

I used another dirt generator to add darkness between the folds of the rug to make them bolder, as well as another Fiberglass Edgewear mask to add lighter worn fabric to the top of the folds.
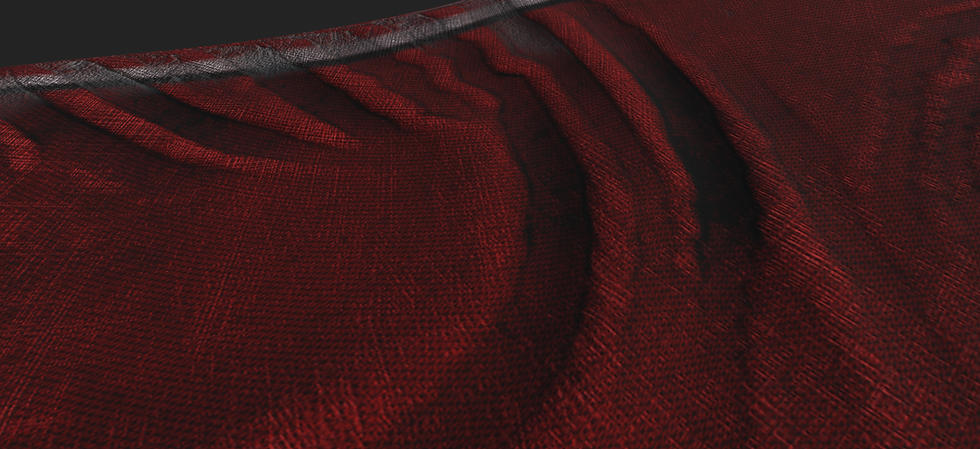
I then took it into Unreal Engine to render it.
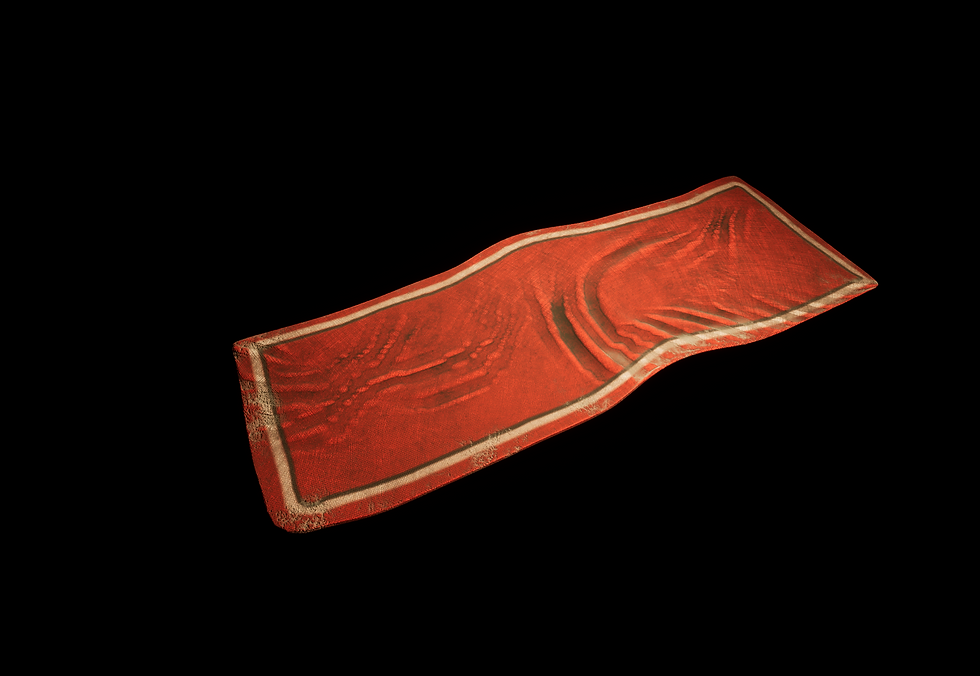
Now that I had my whole modular kit for the shrine room, I put the room together.
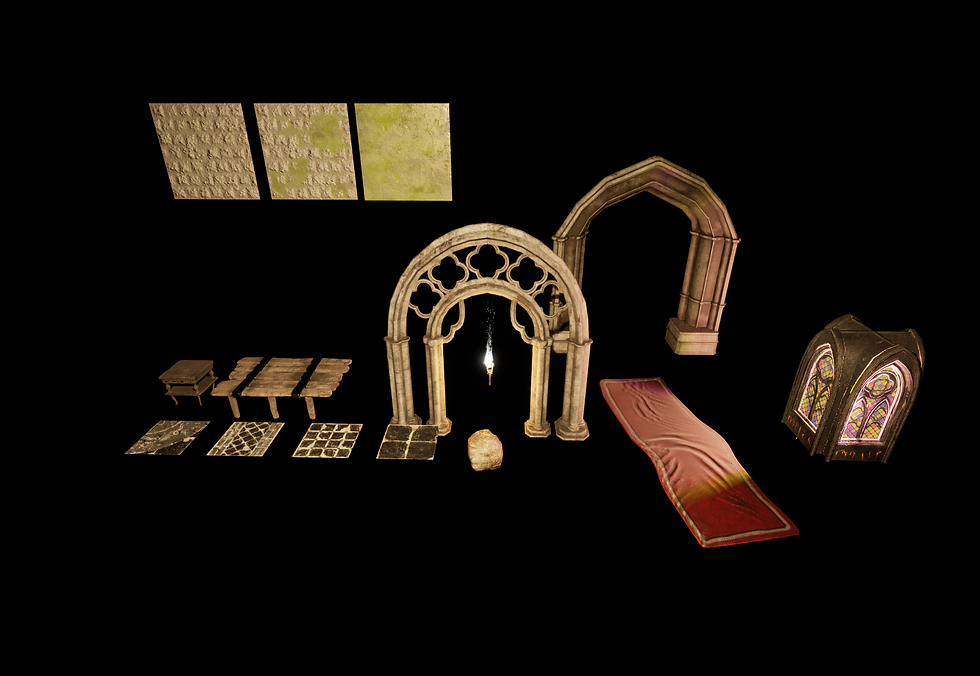
I then took renders In Unreal Engine of the Shrine room all put together:
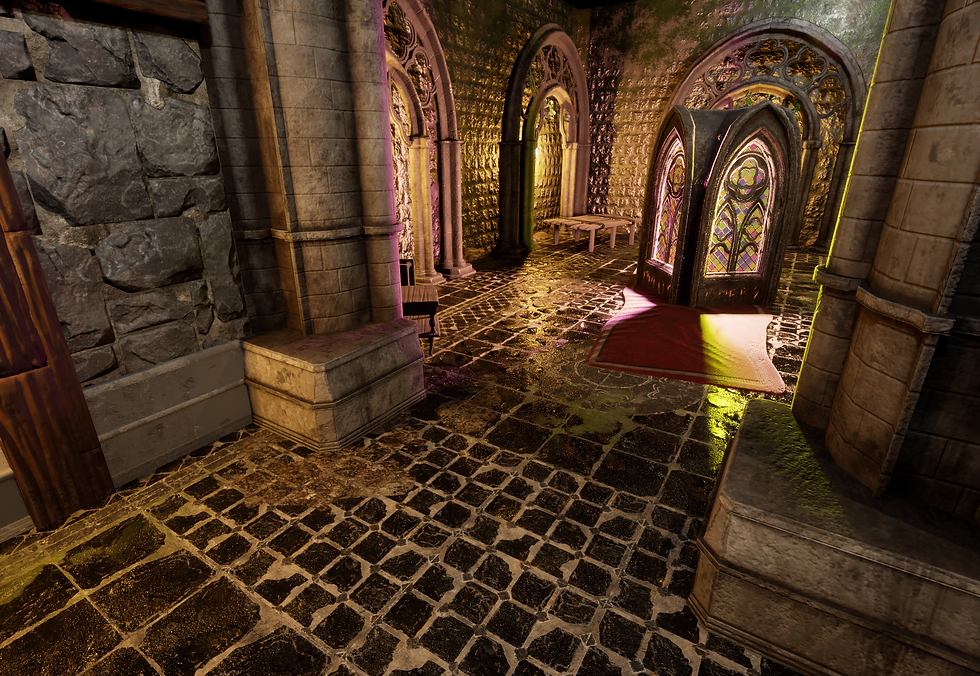
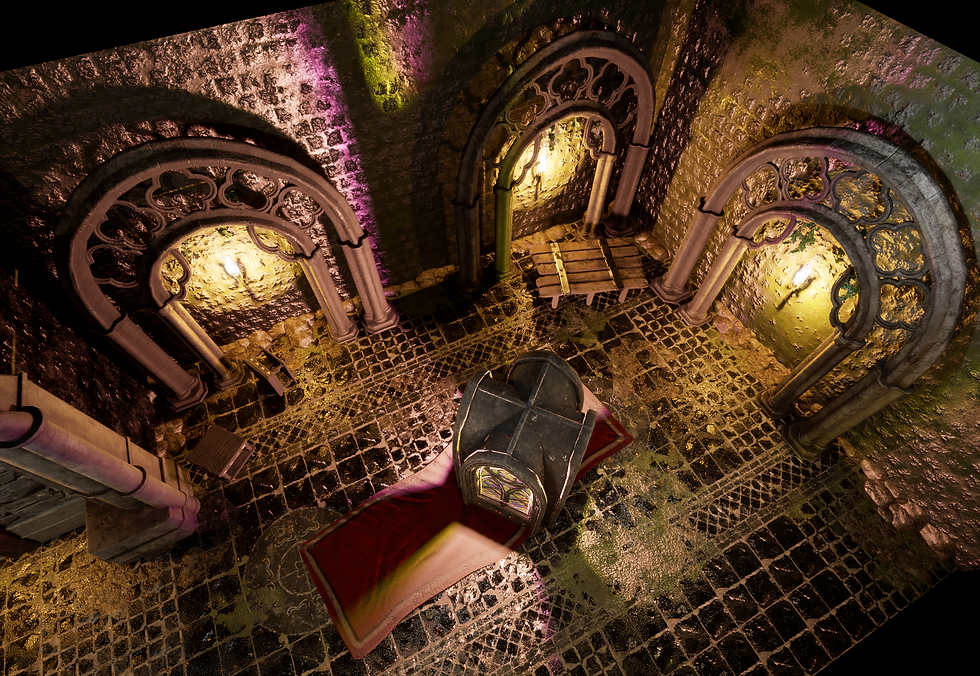



Finally, I also read "The Art Of Star Wars Jedi Survivor" (Lucasfilm Ltd and Respawn Entertainment, 2024) this week to gain understanding of how large companies create environments and the process they take from the concept art to the model. I learnt a lot about composition from this book and will take away the knowledge I gained on how important the placement of assets is in an environment to make a scene look visually pleasing and implement story telling.
Bibliography:
Geograph.org.uk. (2026). 515 images tagged with ‘church doorway’ :: Geograph Britain and Ireland. [online] Available at: https://www.geograph.org.uk/tagged/church+doorway [Accessed 9 Feb. 2026].
Leadbitter Glass. (2023). Sale Stained Glass. [online] Available at: https://www.leadbitterglass.co.uk/sale/stained-glass/ [Accessed 14 Mar. 2026].
mural.co. (2026b). GAR106 - Seamless Brick material in Substance Designer. [online] Available at: https://app.mural.co/t/gamesacademy5502/m/gamesacademy5502/1676586688804/68e0003526a0b2953cb3a55130f2e787ad98bee3?sender=u83304563539c7eea1fcb1681.
Redwood Stone. (2020). Stone Arch for Garden - Garden Folly Components - Redwood Stone. [online] Available at: https://redwoodstone.com/gothic-folly-components/arches-doors/.
tea (2025). Realistic Medieval Stone Wall - Substance 3D Designer. [online] YouTube. Available at: https://www.youtube.com/watch?v=_LJ82NtHOxk [Accessed 15 Mar. 2026].
Vicente, M. (n.d.). Orb-brushes Pack for Zbrush. [online] Gumroad. Available at: https://orb.gumroad.com/l/nOkHw.
Lucasfilm Ltd and Respawn Entertainment (2024). The Art of Star Wars Jedi: Survivor. Dark Horse Comics.


Comments